DIY Guide: How to Install EVA Foam Boat Flooring Easily
Table of Contents
The Step-by-Step DIY Guide to Installing EVA Foam Boat Flooring Like a Pro
Picture this: Your boat’s deck looks like a peeling sunburn. The old flooring flakes off with every step, a constant, gritty reminder that it’s failing. You could call a professional and get a quote that will make your wallet ache.
Or, you can fix it yourself. This weekend. In this guide, we're going to show you how to completely transform that failing surface into a tough, non-slip deck with excellent traction that will look amazing and provide long-lasting durability. We'll walk through every step, from pro-level surface prep that guarantees a lasting bond to the easy strategies for a smooth, factory-finish look. This guide is designed for an easy installation, even if you have no prior experience.
First, A Few Important Notes on EVA Foam
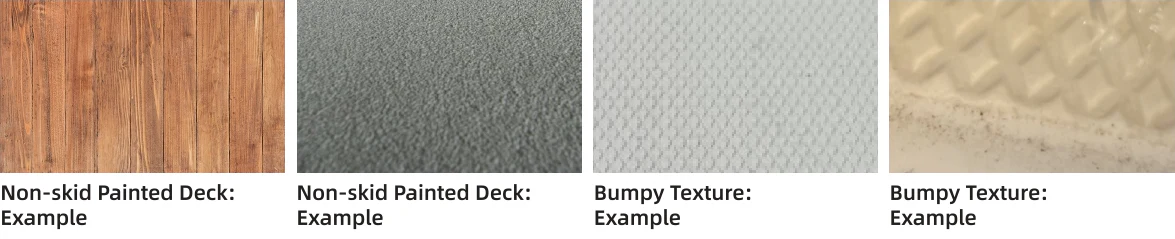
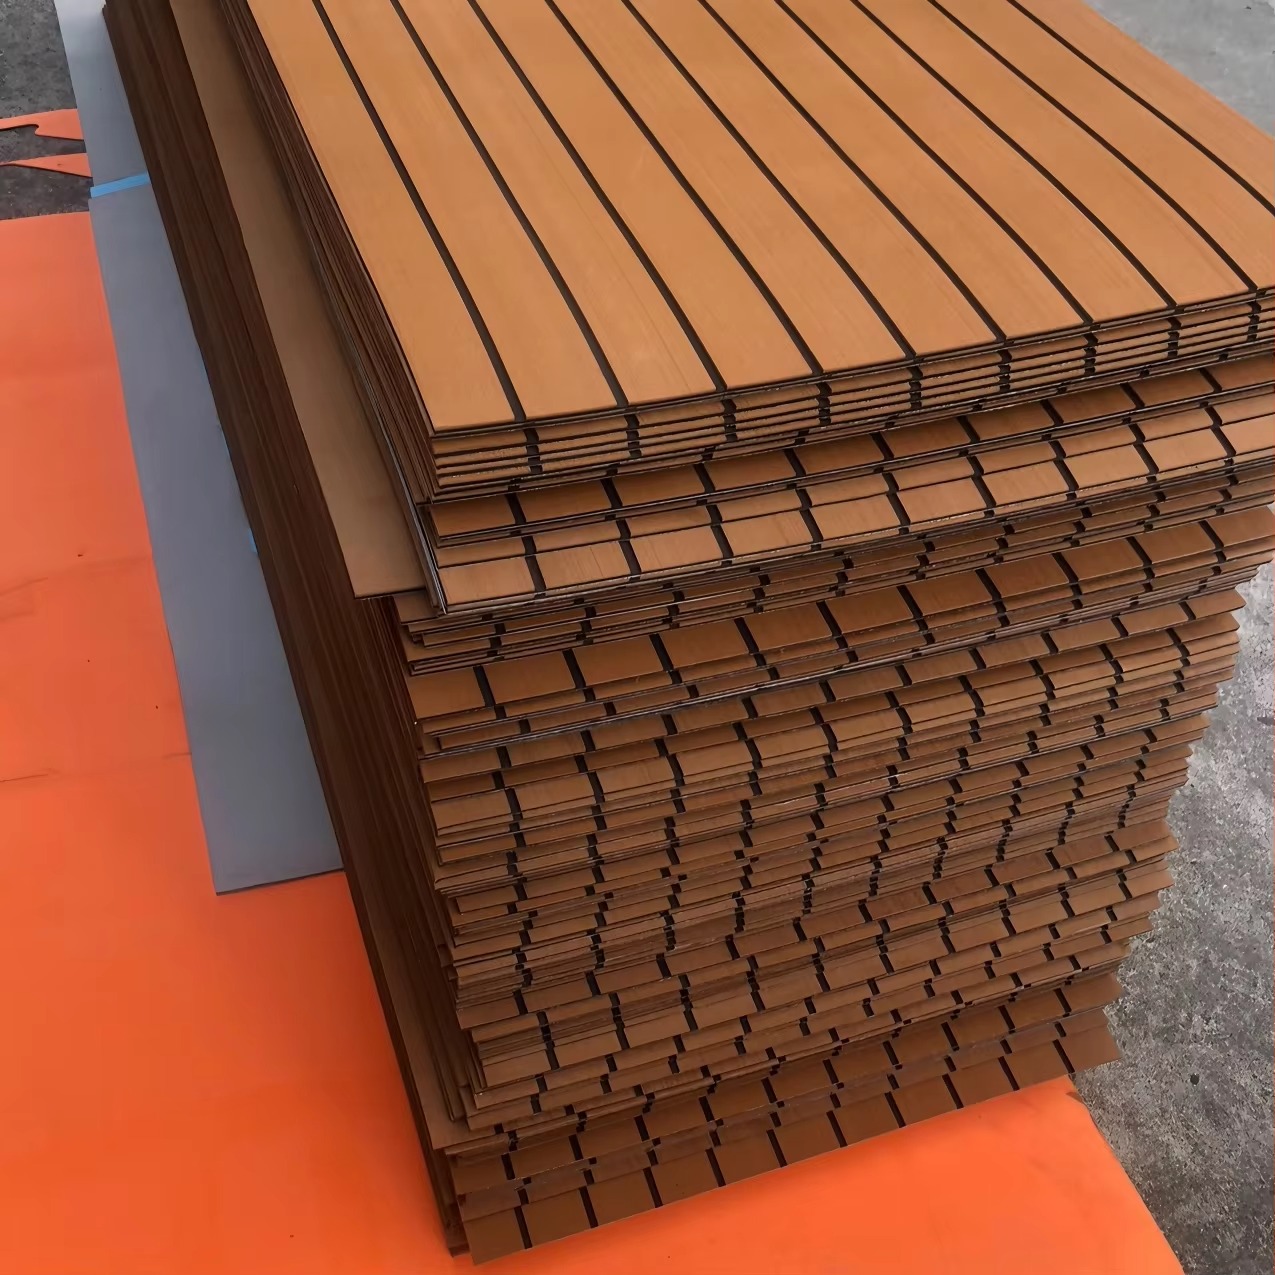
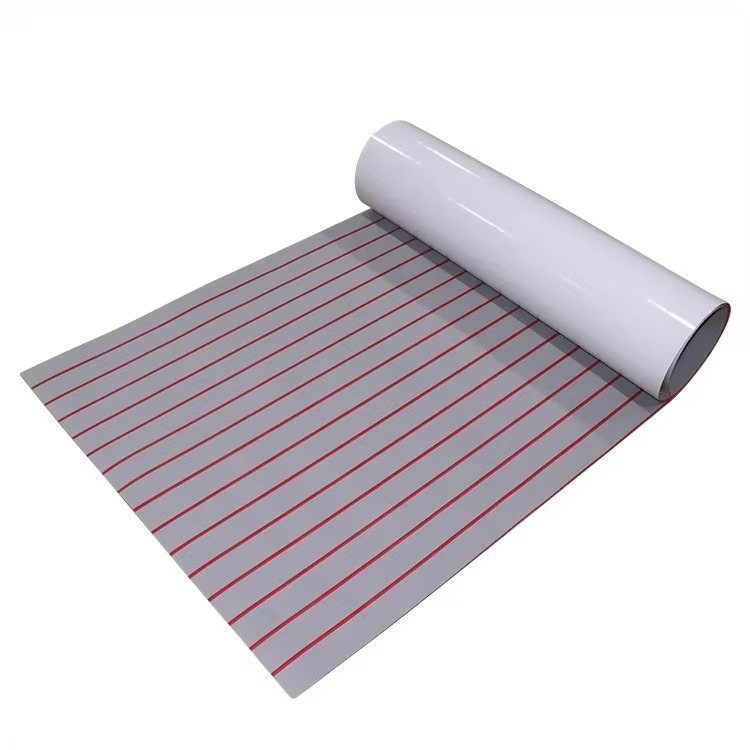
EVA (ethylene vinyl acetate) is a soft, closed-cell foam material that is safe and non-toxic. When you open the package, it may have a slight odor; make sure you put the sheet in a ventilated place to dissipate the odor and lay it flat for later installation.
Rolling it in a box is a safe and cost-effective way for transportation. The rolling pressure may result in a slight separation of the backing paper from the foam at both ends. Please cut off a little bit of the end section if needed.
Lay the materials out upside down and press them down with a suitable weight to help them flatten out.
The 3M adhesive backing sticks best to level metal and fiberglass surfaces. For uneven or textured surfaces, such as wood floors and plywood decks, it is recommended to use marine polyurethane glue to boost adhesion.
Gathering Necessary Tools and Materials
A flawless finish begins with proper preparation. Before you even think about cutting, let's get everything ready.
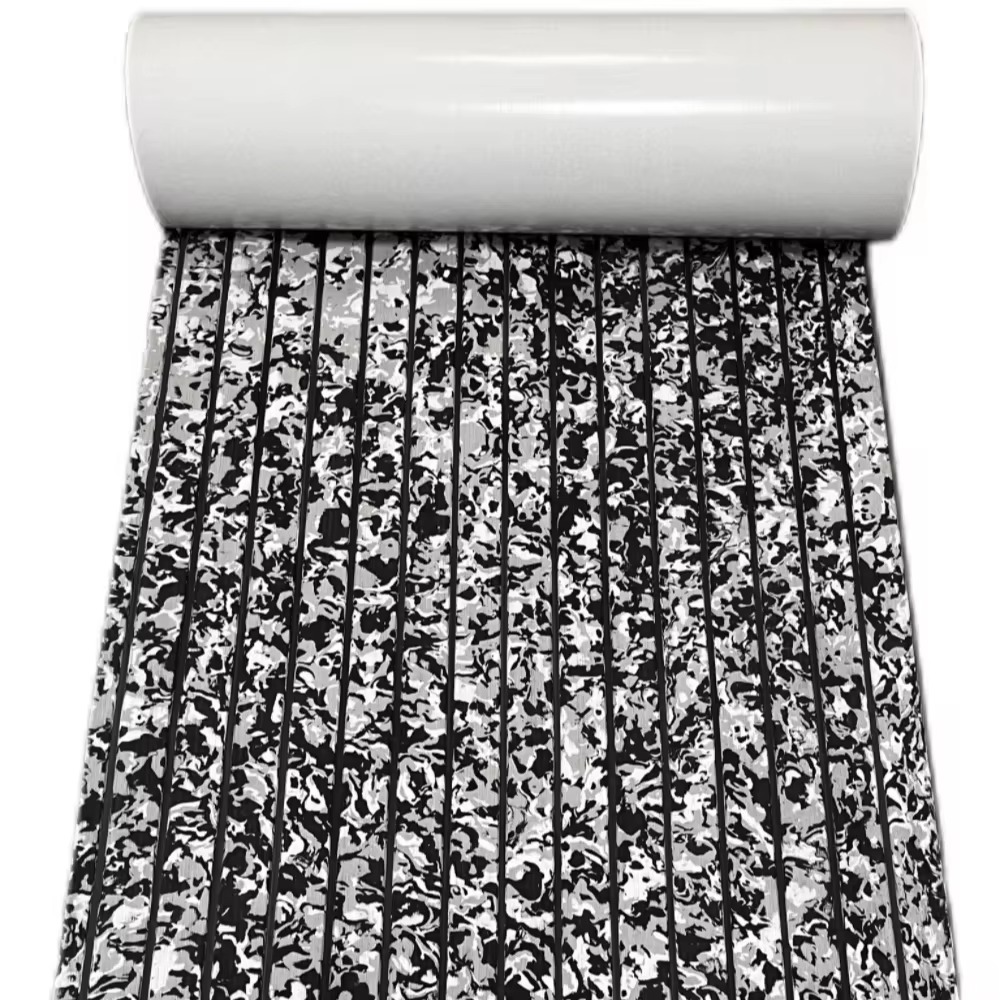
EVA Foam Roll: The star of your new marine flooring.
Sharp Utility Knife: A snap-blade style is highly advised. A fresh, sharp edge is crucial for clean cuts.
Long Metal Straight Edge: For guiding your cuts and ensuring perfectly straight lines.
Measuring Tape & a Square: For exact measurements and perfect angles.
Cutting Surface: A large piece of scrap foam board or thick cardboard to protect your blade.
(Optional) Contact Adhesive: A small tube of Marine Polyurethane Glue is useful for securing any stubborn edges.
(Optional) Small Roller: Helps to apply even pressure and ensure a strong bond.
Preparing Your Boat Deck for Installation
Pre-Installation Checklist:
Let the Foam Relax (Crucial!): The night before, unroll your EVA foam and lay it out flat, preferably on the boat deck itself. This allows the foam to acclimate and lose the "curl" from being shipped.
Prepare Your Deck Surface: For detailed instructions, it's always helpful to review guides on proper boat surface preparation methods from trusted marine sources.
Surface Prep Steps:
Remove the old carpet or flooring if your boat has any.
Wash the floor thoroughly to get rid of any dirt. For stubborn grease or oils, use a solvent (acetone or alcohol) to clean the surface. The deck must be completely free of contaminants.
For painted wood, simply wipe the surface down thoroughly with rubbing alcohol. For bare aluminum or oxidized fiberglass, lightly scuff the surface with a sander before cleaning.
Ensure the surface is completely dry before applying the foam. Any moisture in this harsh marine environment will weaken the adhesive bond.
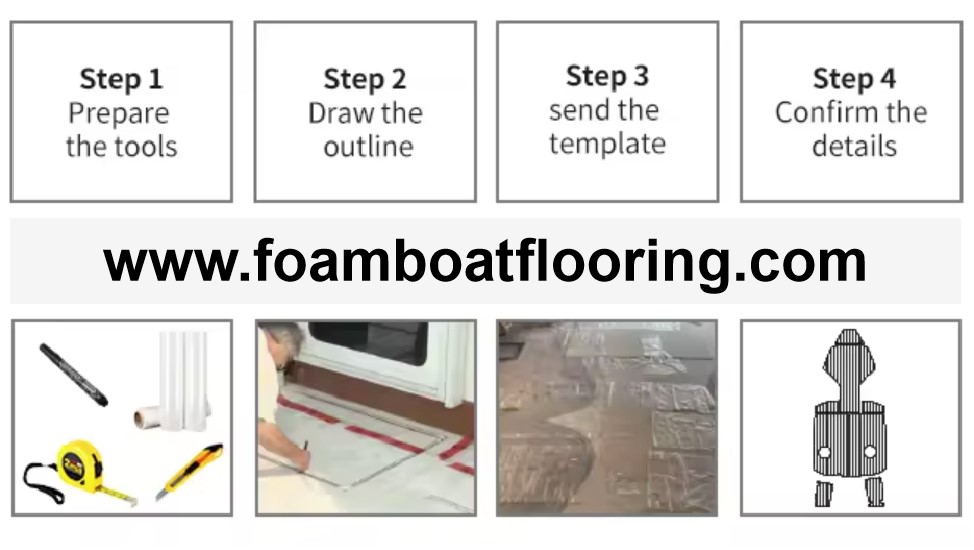
Creating and Cutting Your EVA Foam Template
With prep work done, it's time for the fun part. Work on one section at a time.
Measure the longest portion of the area you want to cover first. Add an extra inch to your measurement to give yourself room for error. This first piece will serve as your primary template.
Lay your EVA foam roll on your cutting surface. Use your measuring tape and square to mark a straight cutting line.
Place your metal straight edge along the line. Using your sharp utility knife, make several light passes to score the line first. After 2-3 light scores, apply more pressure to make the final, clean cut.
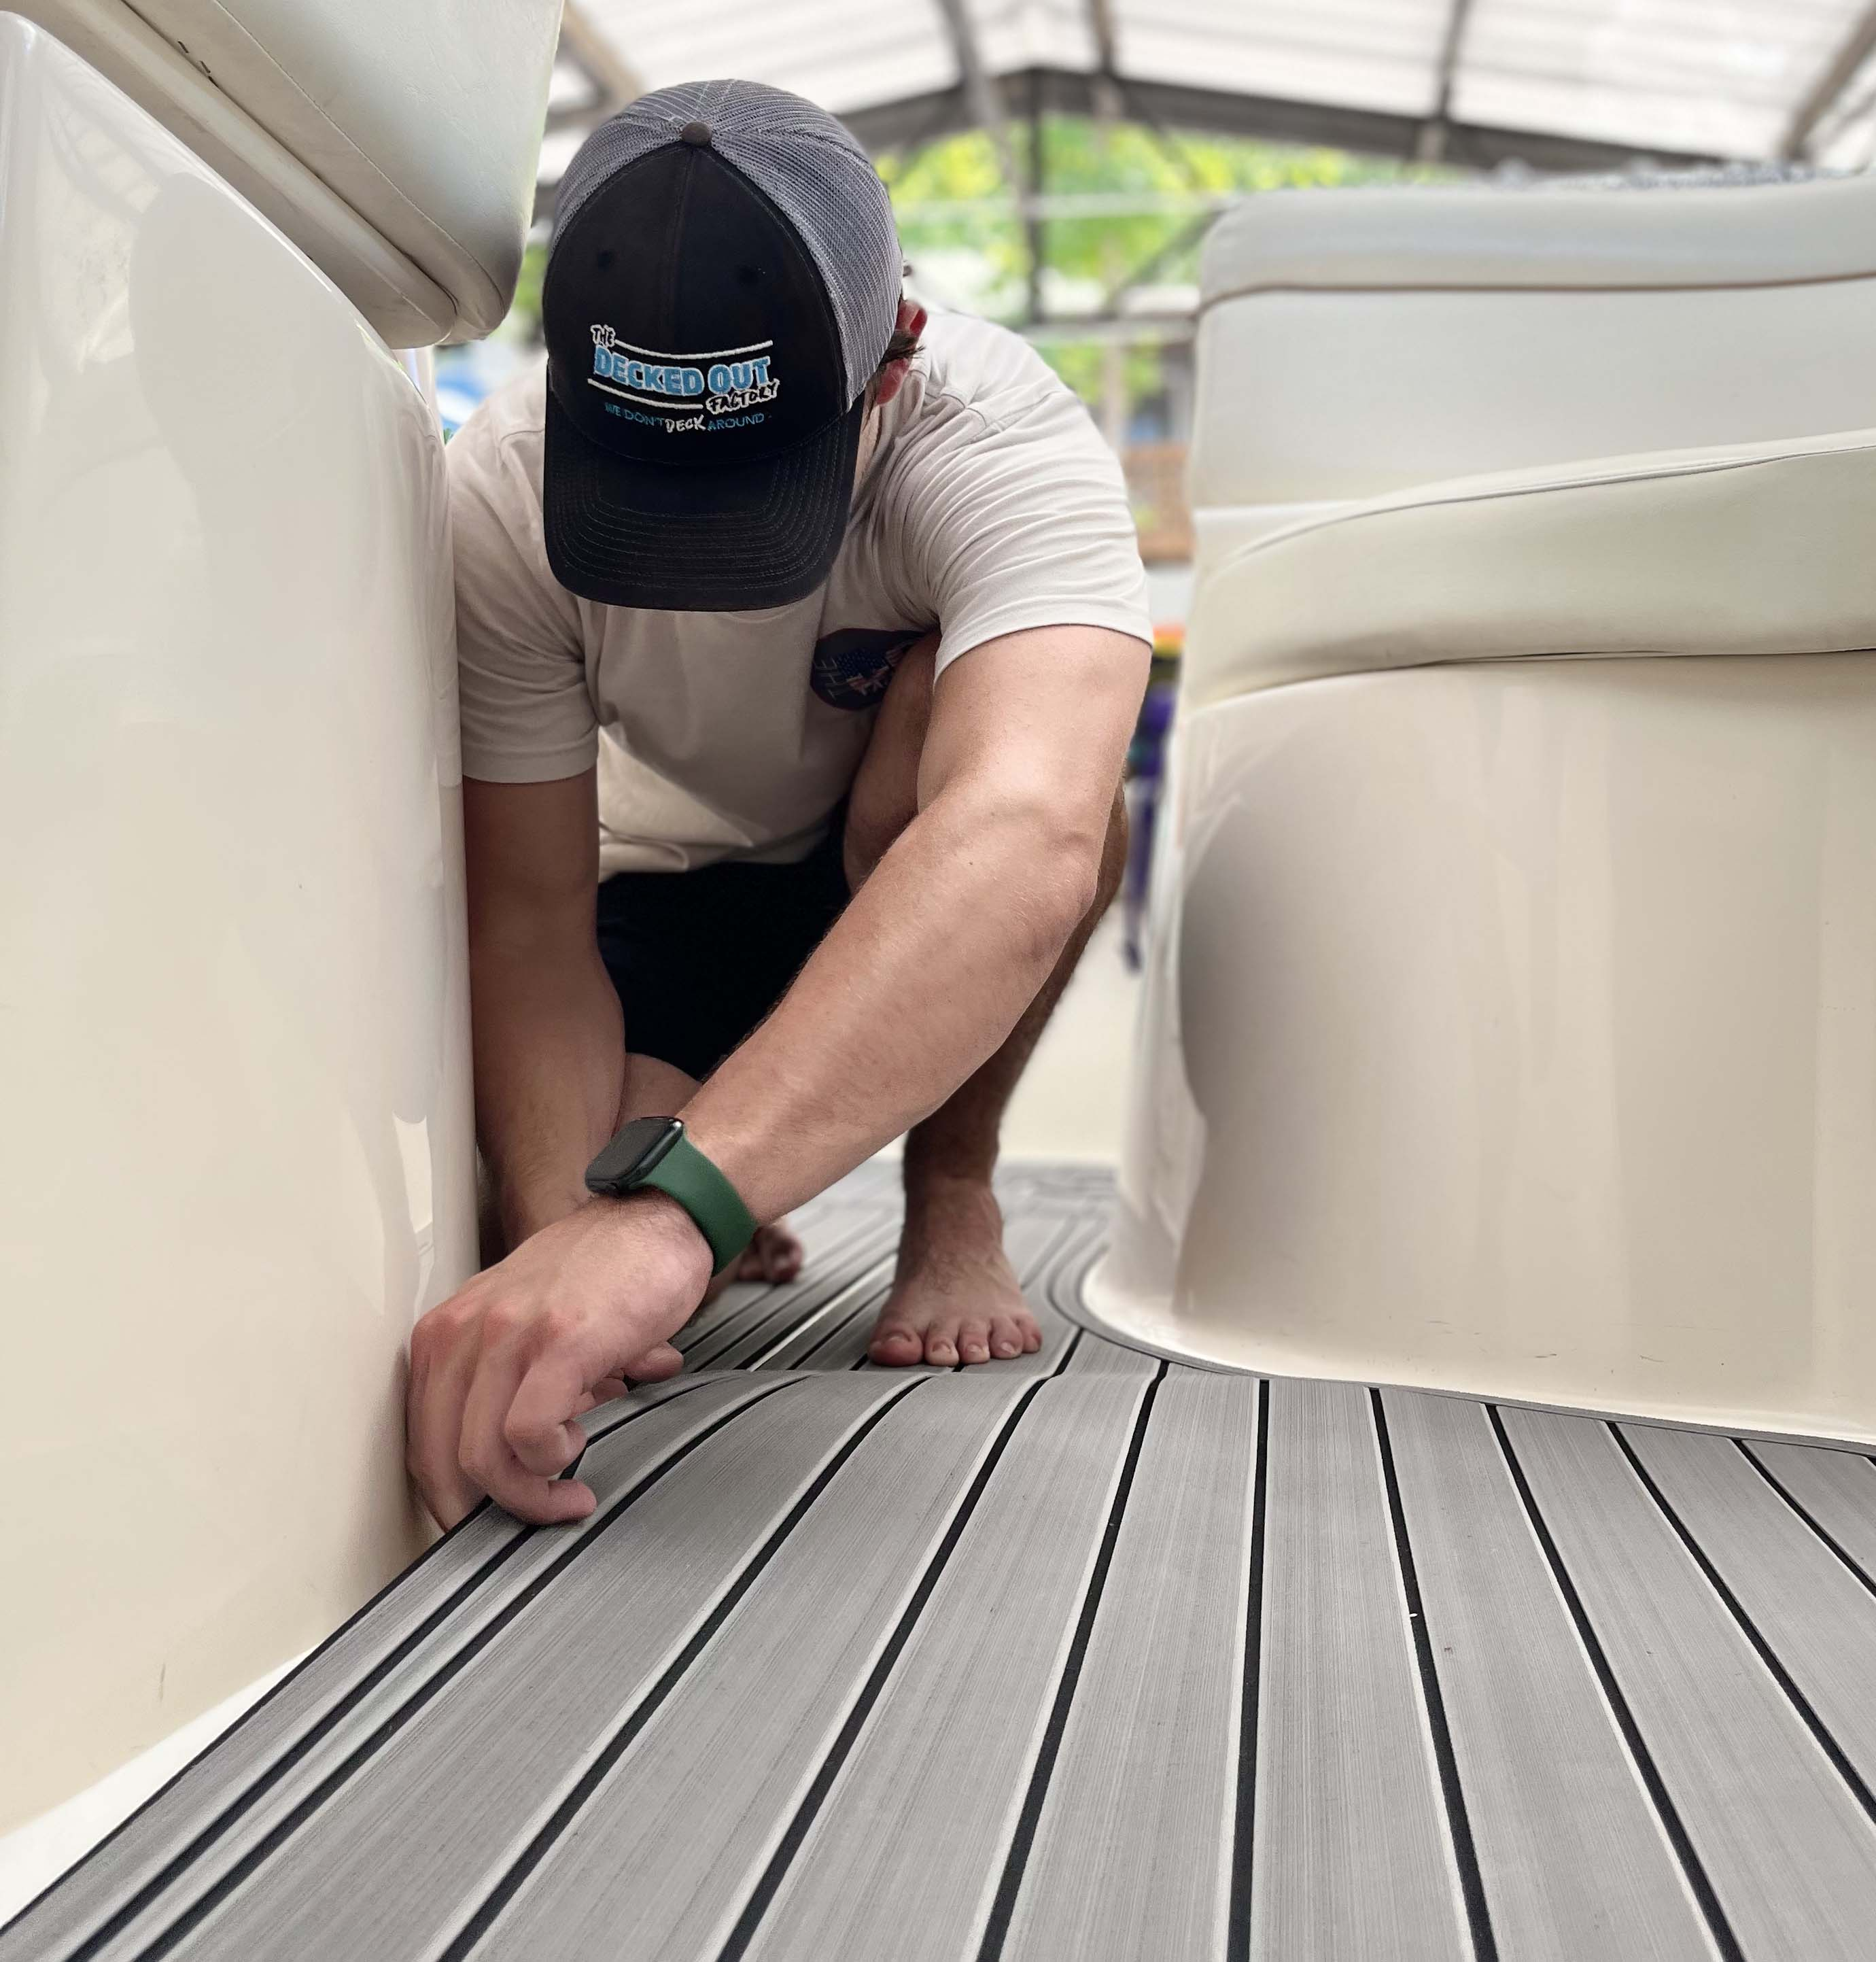
Applying the Adhesive and Installing the EVA Foam
Take your cut piece of foam to the boat.
Carefully peel back just a corner of the adhesive backing paper.
Align that corner precisely where you want it to start and press it down firmly. This anchor point prevents the rest of the piece from shifting.
Slowly begin peeling the rest of the backing paper away with one hand, while using your other hand (or a roller) to smooth the foam down as you go, pushing out any air bubbles.
Tips for a Professional-Looking Finish
Trimming for a Perfect Fit:
Once the piece is fully adhered, use your sharp knife to trim the excess material, following the contours of your deck. For the final, precise edge, place your straight edge where you want the cut to be and use the "score-then-cut" method.
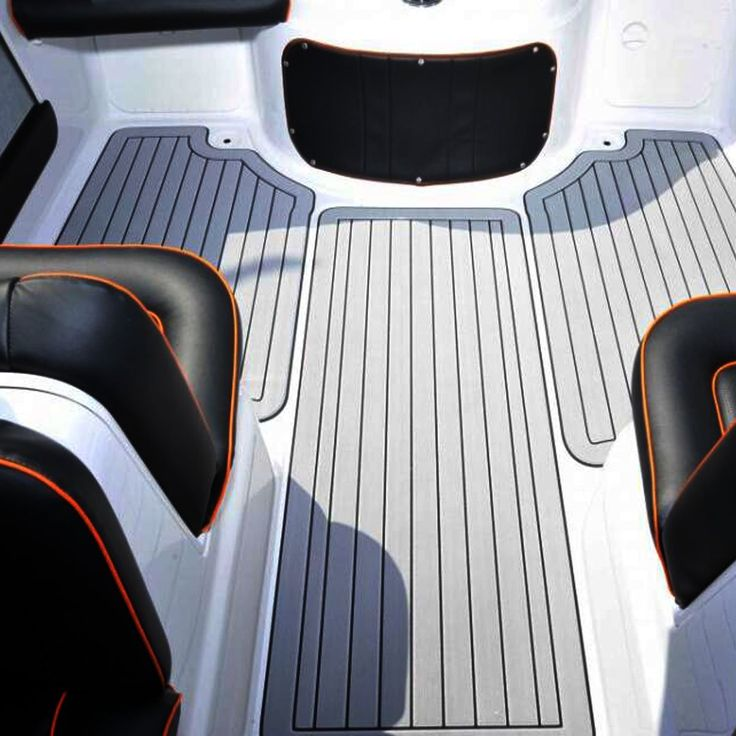
Creating Seamless Joints (for striped patterns):
To make a seam disappear, on the edge of the first piece, carefully cut along the inside of a stripe, removing it completely. On the new piece, cut along the outside of the stripe. When you butt the new piece against the first, the stripe from the new piece will perfectly cover the seam. (Video source: https://youtu.be/eu563vaSX_U)
Troubleshooting Common Issues:
Air Bubbles: If this occurs, use a safety pin to poke a tiny hole in the air bubble and carefully rub out the air while re-adhering the pad.
Edges Not Sticking: This is where choosing the right adhesive for installation becomes critical. Carefully lift the edge, clean both surfaces with alcohol, and apply a thin layer of Marine Polyurethane Glue. Press down firmly.
Deep Cuts or Gouges: You don't need to replace the whole floor. For larger damage, cut out the damaged section in a clean square and use leftover material to cut a perfectly matching patch.
Maintaining Your New EVA Foam Boat Flooring
When not in use, cover the EVA foam flooring to lessen its exposure to direct sunlight and improve its UV resistance, which extends its lifespan.
If there's fish blood or a spill on the foam boat flooring, it's recommended to wash and clean it as soon as possible.
Do not place it underneath fuel tanks, because petrol will destroy the EVA foam, causing it to become brittle and peel up.
If peeling occurs, clean the surface well and re-adhere the deck with additional glue.
Why DIY Works: The Real-World Comparison
While a pro installer offers convenience, the DIY route puts you in control and offers compelling advantages.
Cost: You pay only for materials. Your savings can be up to 50% compared to a pro quote.
Time: It's a weekend project, typically taking 6 to 10 hours of focused work.
Satisfaction: There is immense pride in seeing a professional-grade result that you achieved with your own hands.
Need Bulk Foam? We Craft Perfection
At Foan boat flooring, our factory-direct pricing saves you about 20% vs. retail. Contact our expert team for a no-obligation, factory-direct quote and let's give your boat the durable, high-performance deck it deserves. See the quality for yourself and start your project today.
Comments
Hey there, I’m Emma!
I really enjoy working in the marine flooring industry, specializing in EVA foam sheets for boat milling. From UV-resistant, non-slip designs to custom patterns, feel free to contact me!
Home Table of Contents Custom Foam Boat Flooring Sheet – Manufacturer Specifications Material Characteristics Base Material Marine-Grade, Closed-Cell EVA Foam
Table of Contents Wholesale Seadek Same Quality Boat Foam Flooring Quality & Performance Comparison Quality Standard Comparable to SeaDek®; High-Density,