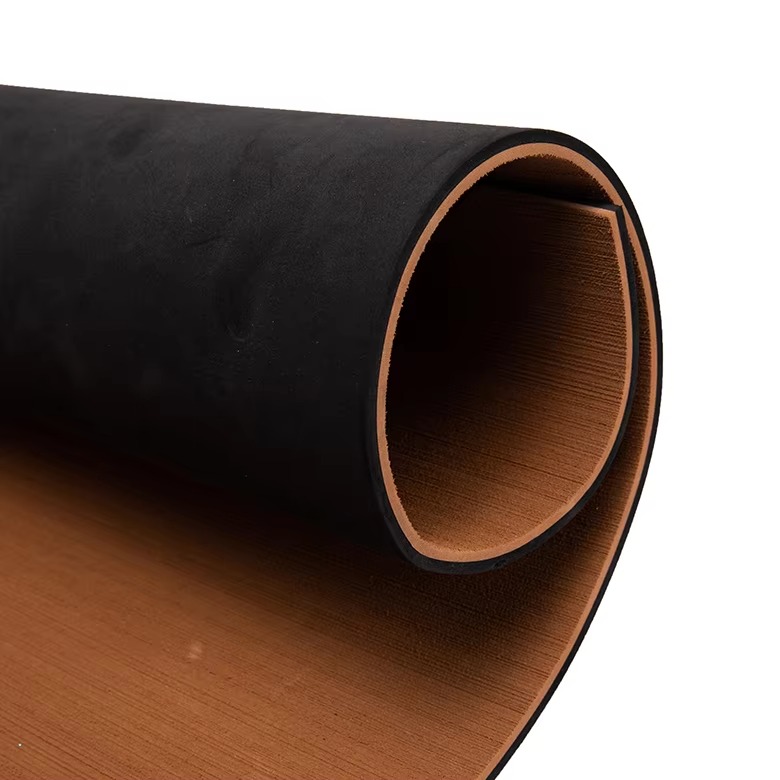
How to Install EVA Foam Boat Decking: A Step-by-Step Guide for Wholesalers, Importers, OEMs, and ODMs
Are you lookking for a way to upgrade your boats with foam boat flooring? This article is your comprehensive guide on how to install EVA foam boat decking. Whether you’re a wholesaler, importer, OEM, or ODM, understanding the installation process is crucial. We'll walk you through, step-by-step, how to achieve a professional and long-lasting finish. Get ready to learn all about marine foam installation!
Article Outline
- Why Choose EVA Foam for Your Boat Deck?
- What Tools and Materials Do You Need for Installing EVA Foam?
- How to Prepare Your Boat's Deck for Foam Installation?
- Step-by-Step: How to Install EVA Foam Marine Flooring?
- How to Handle Corners and Edges During Installation?
- What are the Best Practices to Ensure a Strong Bond with the Adhesive?
- How do Weather Conditions Affect Installation?
- Why is Proper Surface Preparation Crucial for Long-Lasting Results?
- What are Some Common Mistakes to Avoid When Installing EVA Foam?
- How to Maintain Your EVA Foam Deck and Keep It Looking Great?
- FAQ About Installing EVA Boat Flooring
- We've Got You Covered: Connect with Us for EVA Foam Solutions
Why Choose EVA Foam for Your Boat Deck?
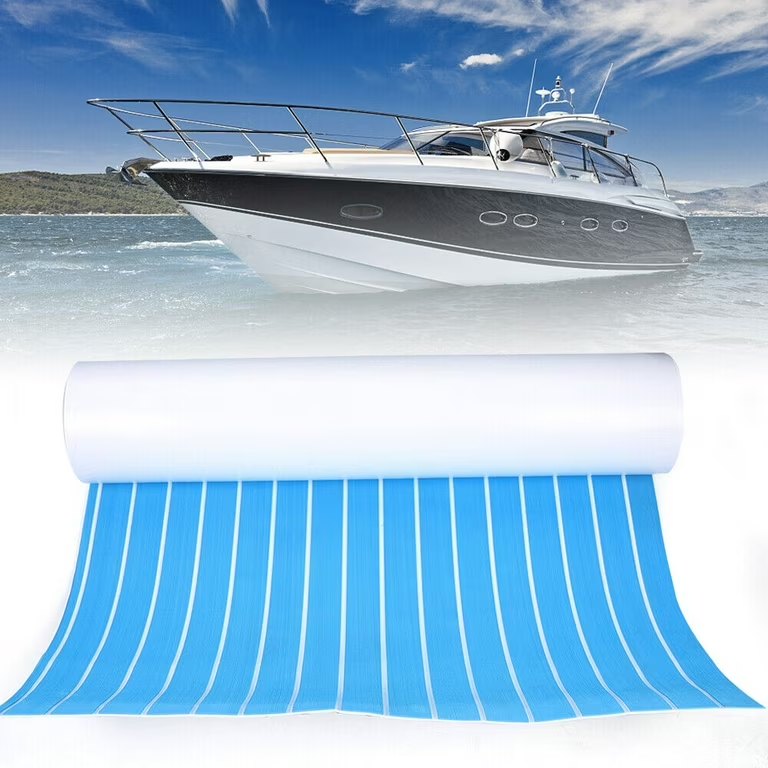
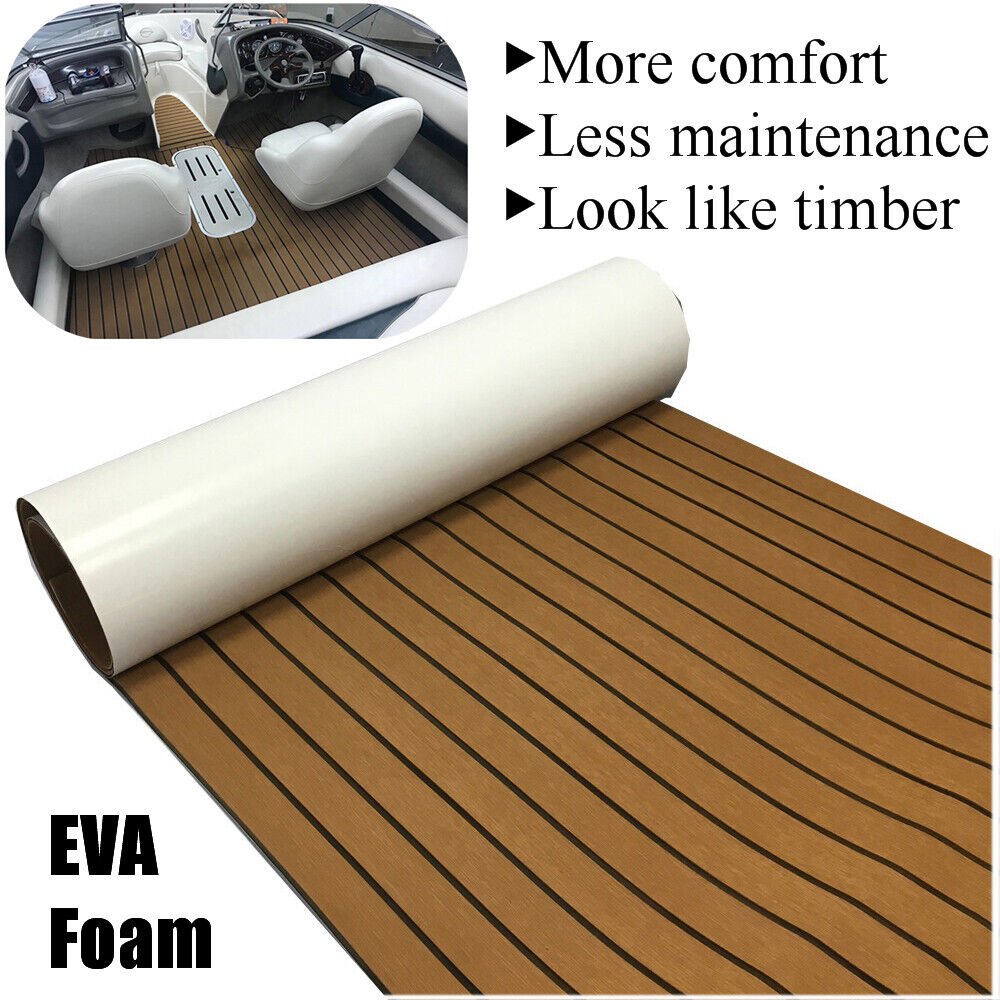
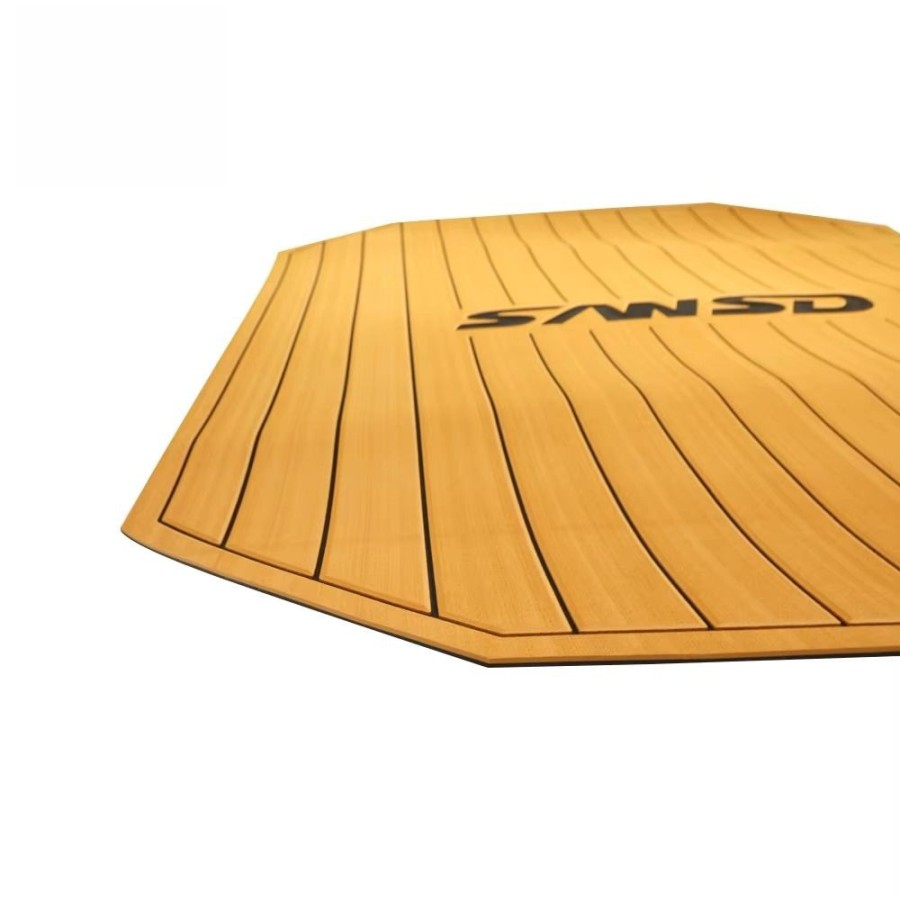
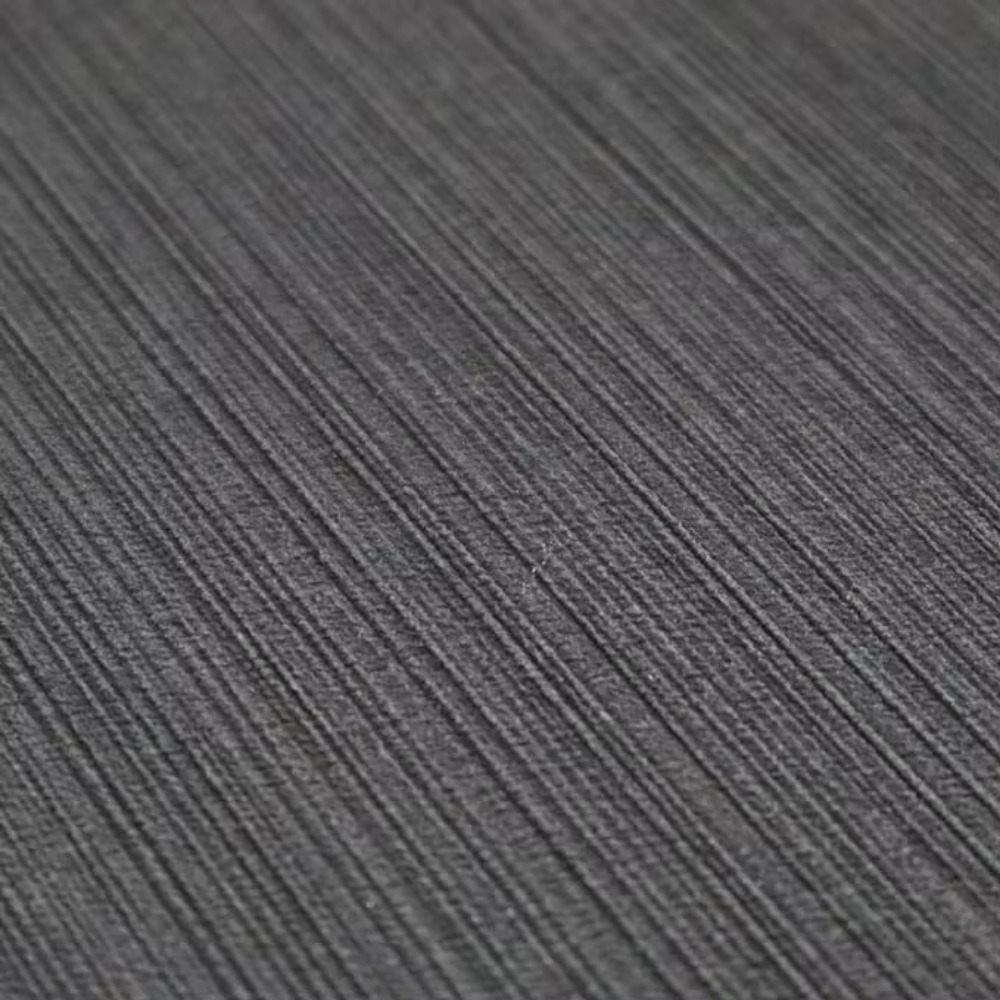
EVA foam has revolutionized boat decks, and for good reason. Unlike traditional flooring materials, it offers superior comfort, durability, and aesthetic appeal. Think about a long day on the water; foam boat flooring provides a soft and comfortable underfoot experience, reducing fatigue. It's also highly resistant to water, UV, and stains, making it a perfect choice for the marine environment.
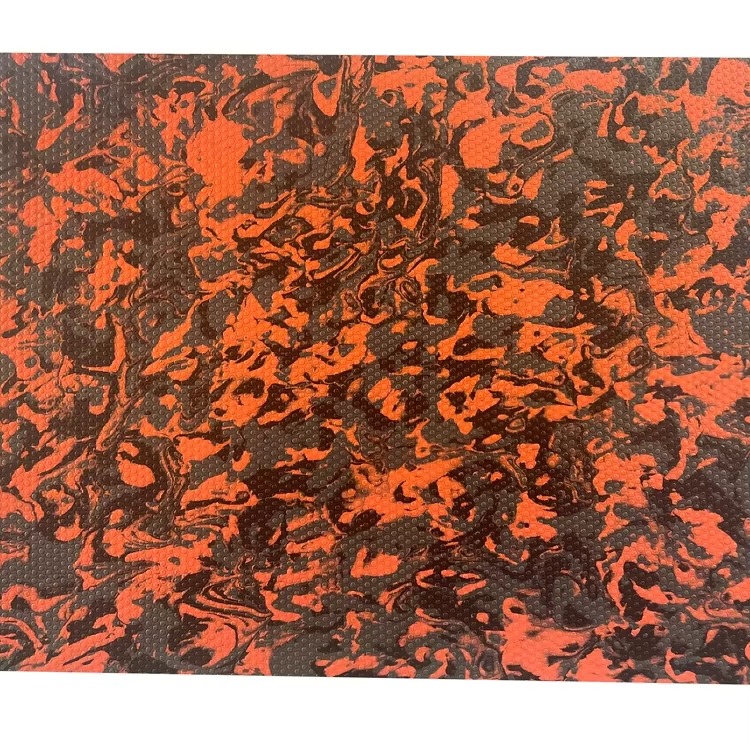
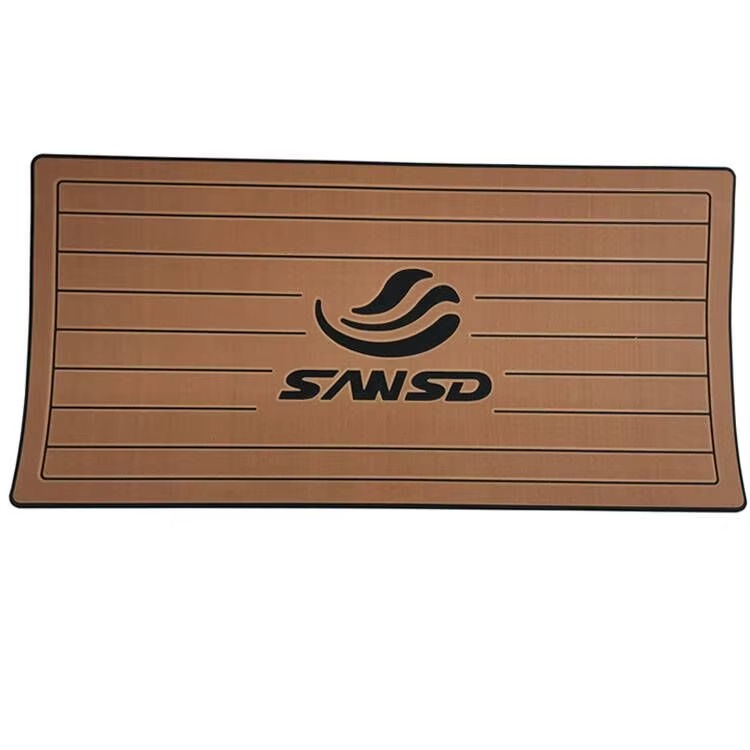
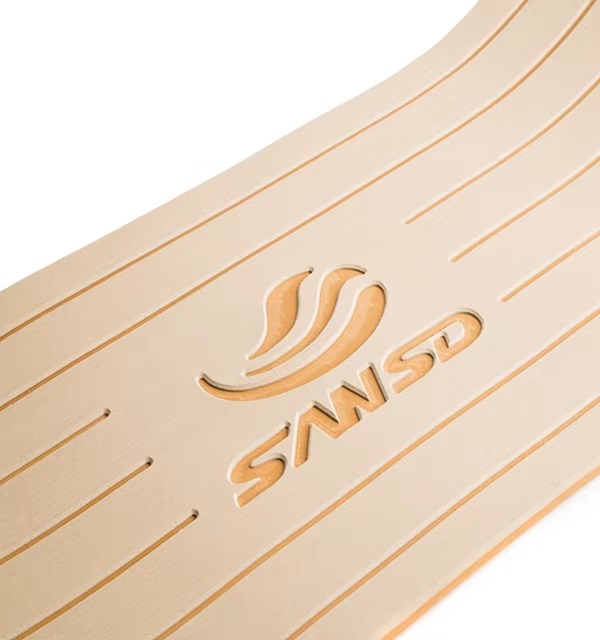
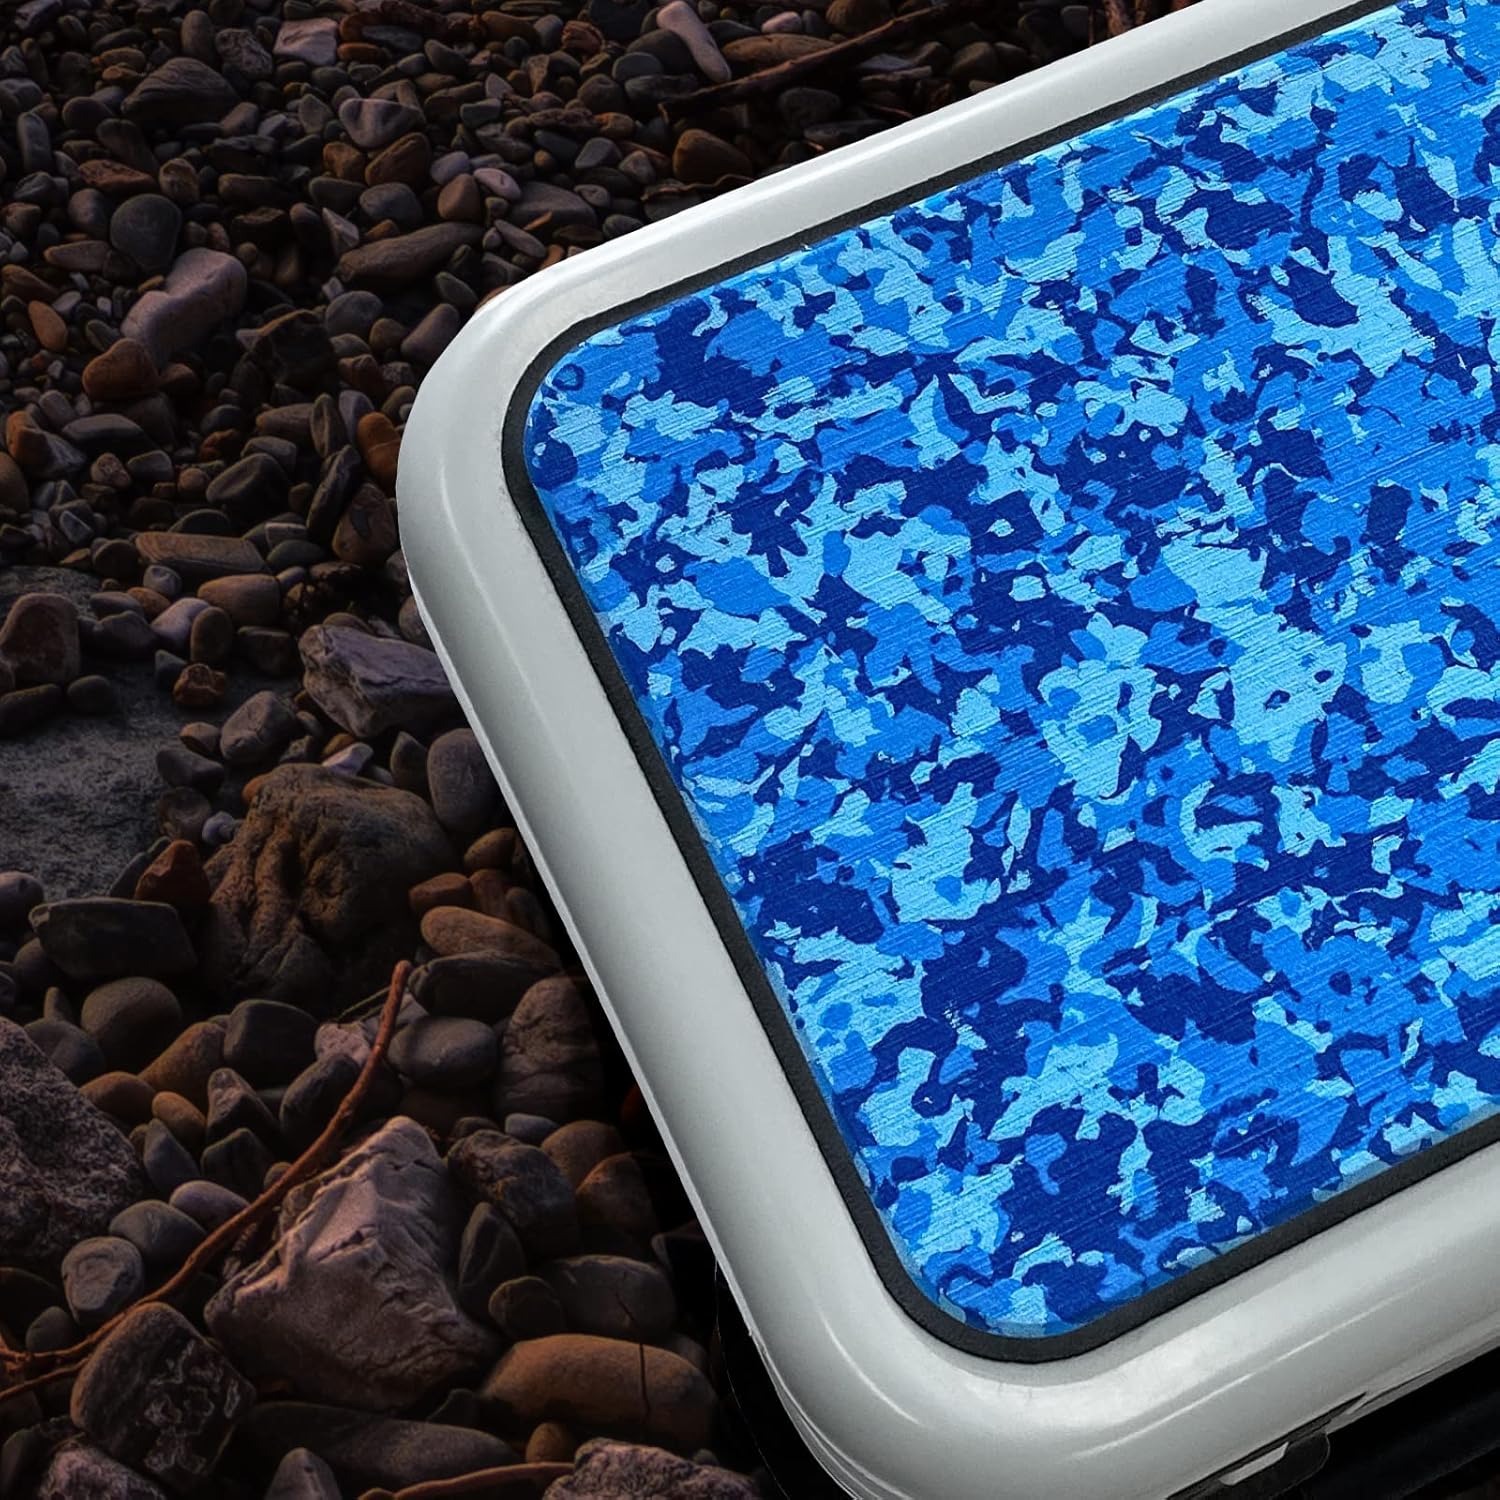
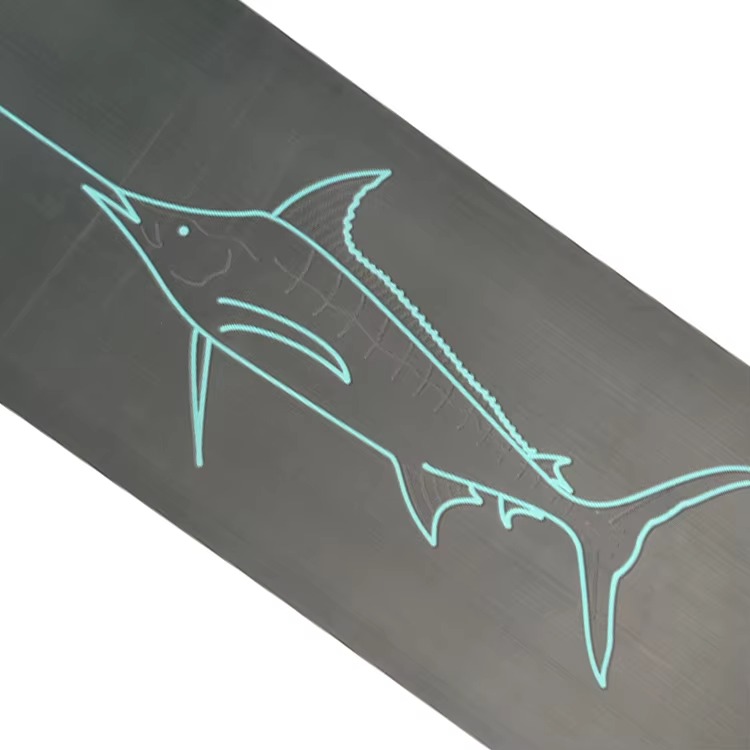
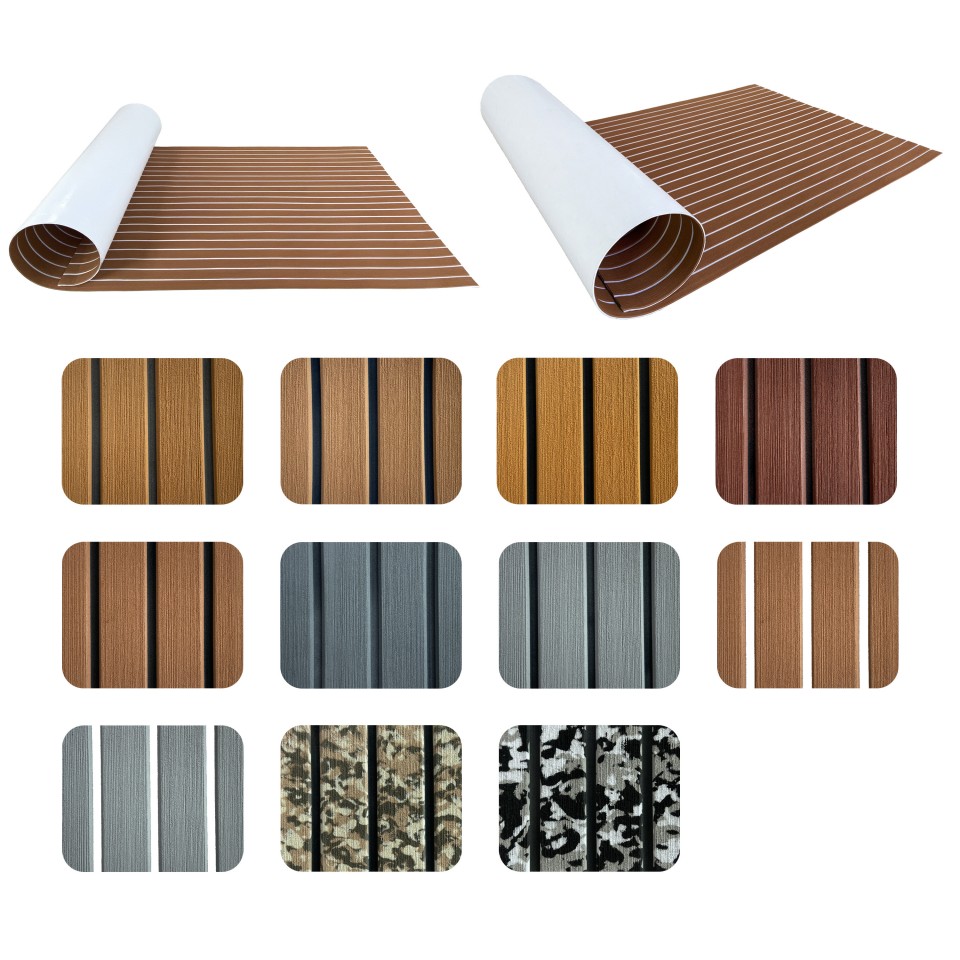
Beyond practicality, EVA foam allows for extensive customization. As a wholesaler or OEM, you can offer your customers a variety of colors, textures, and even custom designs, allowing them to really customize the look of their vessel. The lightweight nature of EVA foam also contributes to overall fuel efficiency and better performance. Furthermore, the easy to install characteristic of this material make it an ideal choice for boat manufacturers looking for cost effective and efficient options.
Before you begin your installation project, let's gather the necessary tools we use to do the job right. You'll need a few key items to ensure a smooth and professional installation process. These include:
- EVA foam boat decking sheets (obviously!)
- A sharp utility knife or scissor
- Measuring tape
- Masking tape
- A clean cloth or rag
- Acetone or isopropyl alcohol
- A heavy roller
- A marker or pen for marking cuts
Having these tools we use on hand will streamline your installation and ensure you get the best possible results. Remember, the right tools are just as important as the right materials!
How to Prepare Your Boat's Deck for Foam Installation?
Proper surface preparation is crucial for a successful and long-lasting installation. If you want your EVA foam marine flooring to look great and adhere firmly, you need to take the time to clean and prepare your boat's deck. This process is very important, if you skip it, you will suffer with poor adhesion, bubbles, and more.
First, make sure your boat deck is completely clean and dry. Remove any dirt and grime, and use soap and water if necessary. Then, go over the surface with acetone or isopropyl alcohol to remove any remaining residue or oils. Any lingering buildup can prevent the adhesive from working properly. For new boats, it's advised to wipe the deck down several times to eliminate any release agents or manufacturing residue. Ensure the surface is entirely dry before proceeding to the next step.
Step-by-Step: How to Install EVA Foam Marine Flooring?
Now that your boat’s deck is prepped, let's get into the actual installation. Here’s a step-by-step guide:
- Measure and Plan: Begin by measuring the area where you'll be placing the EVA foam. It's better to be precise at this point. Take note of any curves, edges, or other details that might require special cuts.
- Test Fit: Position the EVA foam sheet on the boat deck without removing the backing paper. This helps you ensure a perfect fit and helps to identify any spots where you need to make adjustments. If you're working with more than one sheet, ensure alignment and continuity.
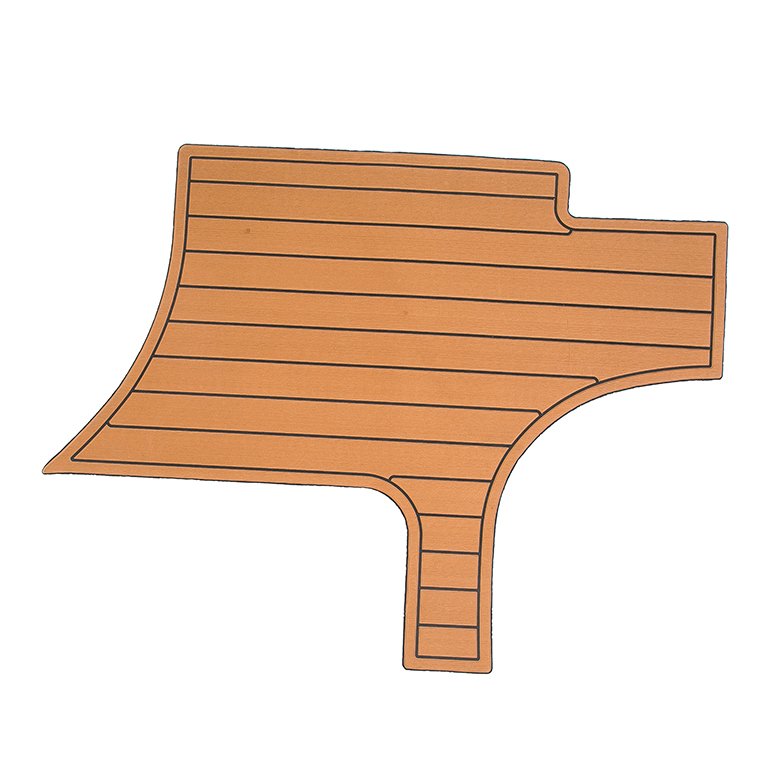
- Mark and Cut: Once you’re confident with the position, use your marker to outline where you will make cuts, use a sharp knife or scissor to cut the foam along the marked lines. If you have complex cuts or curves, make a template first using cardboard or paper before cutting the actual foam.
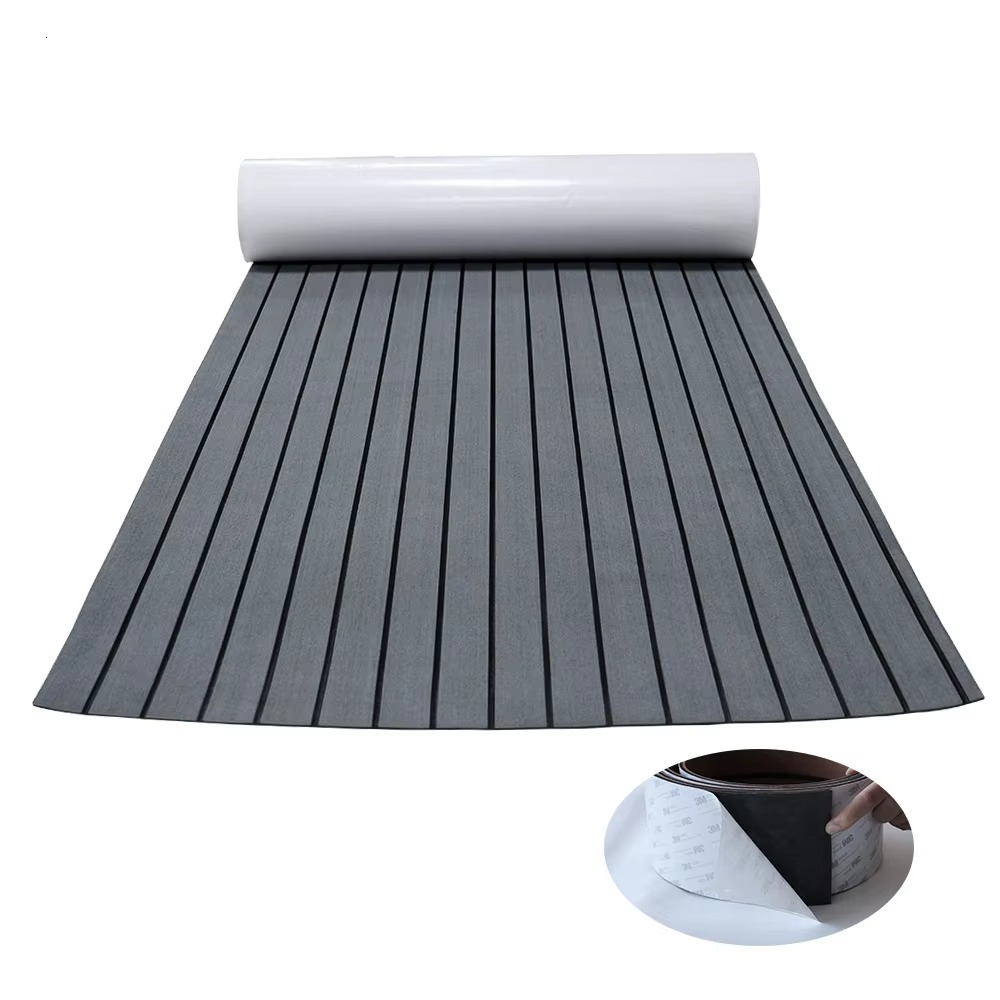
- Peel and Stick: Now comes the main part! Carefully peel back a small portion of the adhesive backing from the EVA foam. Starting from one edge, slowly apply the foam to the boat deck, making sure to apply firm, even pressure. Work slowly, peeling the backing away gradually while ensuring the foam sticks evenly to the surface.
- Roll and Secure: After you have the whole sheet installed use a heavy roller to firmly press down all areas, this will help eliminate any air bubbles. This step helps create the strongest possible bond between the foam and the boat's deck.
How to Handle Corners and Edges During Installation?
Corners and edges can be tricky. It's important to cut the foam precisely to ensure a seamless and professional finish. For corners, you may need to make multiple cuts, carefully trimming the foam to fit perfectly. If you are dealing with curved edges, using a flexible template can be invaluable. When installing the foam, you should also think about the texture and flow of the foam patterns, if present.
Remember, for a seamless finish, the pieces of the foam boat flooring should meet precisely, avoiding any visible gaps. A well-cut corner or edge is a mark of high-quality installation. If you do have a gap, consider using a small piece of matching foam to fill in the space.
What are the Best Practices to Ensure a Strong Bond with the Adhesive?
The quality of the bond is as important as the initial installation. If you want the adhesive to fully take hold, you have to respect the requirements of its pressure-sensitive design. Here are some guidelines to consider:
- Temperature: It’s best to install the EVA foam at the right temperature. Avoid installing on a hot day. If it is a hot day, it might be helpful to keep your foam in a cooler area. The adhesive can become too soft and may not perform as intended.
- Pressure: Use the roller to apply even and firm pressure over the entire foam area. This ensures maximum contact and improves the adhesive bond.
- Time: Allow the adhesive time to fully cure. The bond will become stronger over the next 24 to 72 hours. Avoid using the boat heavily immediately after installation.
By following these guidelines, you can guarantee a strong and long-lasting bond between the EVA foam and your boat deck.
How do Weather Conditions Affect Installation?
Weather conditions play a significant role in the success of your installation. Avoid installing in direct sunlight or extreme temperatures, as this can affect the adhesive. Humidity can also impact the bonding process. Ideally, install your foam during mild and dry weather for the best results. Check the weather forecast before beginning the project and plan your installation accordingly.
If you have no choice and must install in less-than-ideal conditions, make sure the surface is clean and dry, and use a heat gun or hair dryer to warm the adhesive and the surface slightly. Be mindful of the temperature and don't overdo it.
Why is Proper Surface Preparation Crucial for Long-Lasting Results?
We've said it before, but it's worth repeating: proper surface preparation is the cornerstone of a successful and long-lasting installation. This step ensures that the adhesive can create a solid bond, preventing premature peeling, and bubbling. Here is why it is so important:
- Improved Adhesion: Removing dirt and grime ensures the adhesive can make a direct, solid contact with the boat deck.
- Prevents Bubbling: A clean surface reduces the likelihood of air pockets getting trapped under the foam, which can lead to bubbling.
- Extends Lifespan: A proper bond means your EVA foam will stay in place longer, saving you time and money in the long run.
By taking the time to prepare the surface carefully, you’ll protect your investment and avoid the headache of redoing the installation down the line.
What are Some Common Mistakes to Avoid When Installing EVA Foam?
Even when you think you have it all figured out, here are some mistakes to be careful of:
- Rushing the Process: Rushing will lead to mistakes. Make sure to take your time and follow each step carefully.
- Not Cleaning the Surface: As you now know, the surface is everything! Skipping this step can have a big impact on the end results.
- Improper Cutting: Inaccurate cuts and measurements will mean the foam pieces won't fit correctly, leading to an uneven finish.
- Not Applying Enough Pressure: Failing to apply enough pressure with a roller will weaken the bond of the adhesive.
Avoid these common pitfalls and you can ensure your EVA foam installation is a success.
How to Maintain Your EVA Foam Deck and Keep It Looking Great?
Once installed, EVA foam boat decking is relatively low maintenance, but some care will help ensure it remains looking great for as long as possible. Here are a few tips for upkeep:
- Regular Cleaning: Use soap and water to wash down the deck regularly, removing dirt and grime.
- Stain Removal: Treat stains promptly with soap and water or a mild stain remover. Avoid using harsh chemicals that can damage the foam.
- Avoid Sharp Objects: Protect the foam from sharp objects that can cause punctures or tears.
With these simple maintenance steps, your EVA foam deck will continue to look its best for many years to come.
FAQ About Installing EVA Boat Flooring
Is it easy to install EVA foam boat decking?
Yes! Installing EVA foam is designed to be a relatively straightforward DIY project. However, it requires care and attention to detail to ensure the best results.
Can EVA foam decking be used on any type of boat?
Yes, EVA foam can be installed on various types of boats, including fishing boats, sailboats, and pleasure boats. The key is to ensure proper surface preparation.
How long will EVA foam boat decking last?
With proper installation and care, EVA foam boat flooring can last for many years. Factors like UV resistance, climate, and regular use will impact the lifespan.
What should I do if I see any bubbles under my EVA foam?
If you see bubbles, you should try to gently press them out with a smooth roller. You might be able to release the air and reapply the foam properly. If it's too severe you might have to peel the area up and redo it with a cleaner surface.
Can I install EVA foam decking on my pontoon boat?
Absolutely. Many boat owners choose EVA foam for its durability and comfort on their pontoons. You will simply need to follow the same steps as any other boat deck, making sure you prepare and clean your boat’s deck properly.
Can I order customized EVA foam boat decking?
Yes! We specialize in providing customized EVA foam boat flooring solutions. We can accommodate various sizes, shapes, and design preferences, allowing your customers to truly personalize their boat's deck.
We've Got You Covered: Connect with Us for EVA Foam Solutions
As a manufacturer of high-quality EVA foam boat decking, we provide tailored products for wholesalers, importers, OEMs, and ODMs. If you are searching for a reliable supplier that offers a variety of colors, top-quality marine-grade materials, and exceptional customer service, we've got you covered.
Contact us today to discuss your specific requirements. We’re here to help you provide your customers with durable, stylish, and easy to install foam boat flooring.
- Remember to always clean the surface before beginning installation.
- Accurate measurement and planning are essential for a professional finish.
- Always use a roller to apply even pressure for a strong adhesive bond.
- Proper surface preparation is the key for a long-lasting product.
- Consider weather conditions when planning an install.
- Contact us for all of your EVA foam needs!
