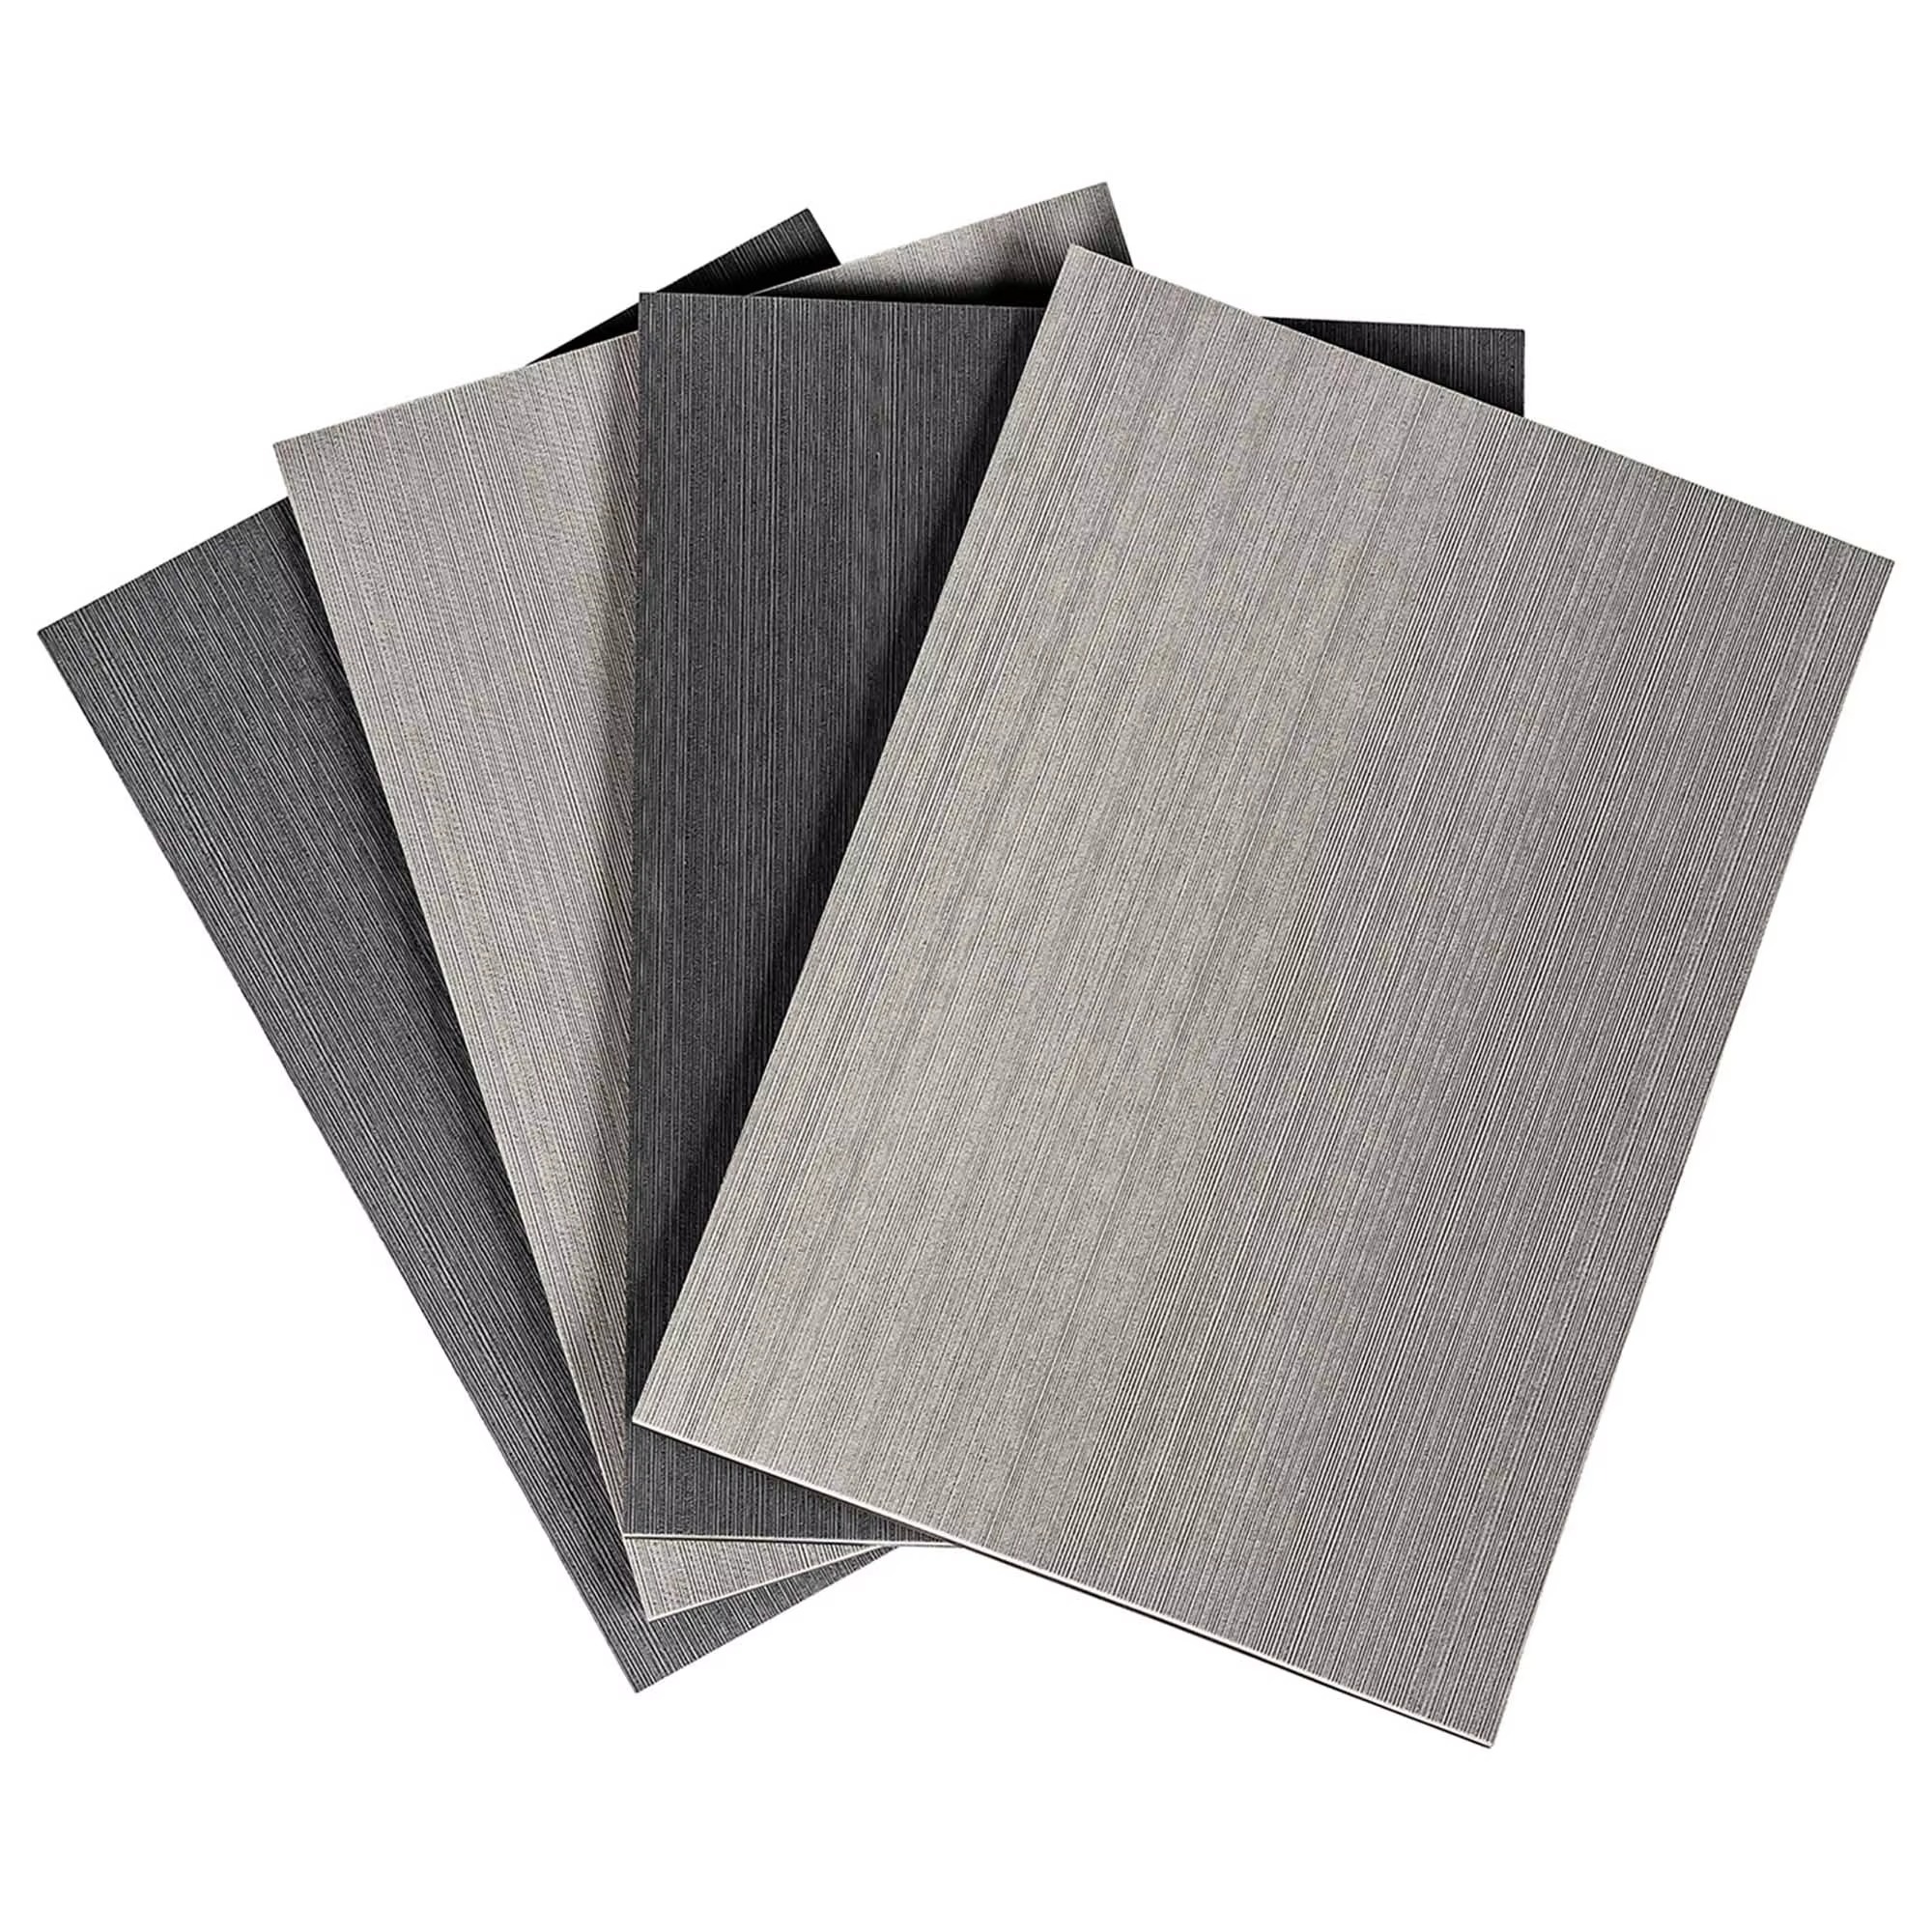
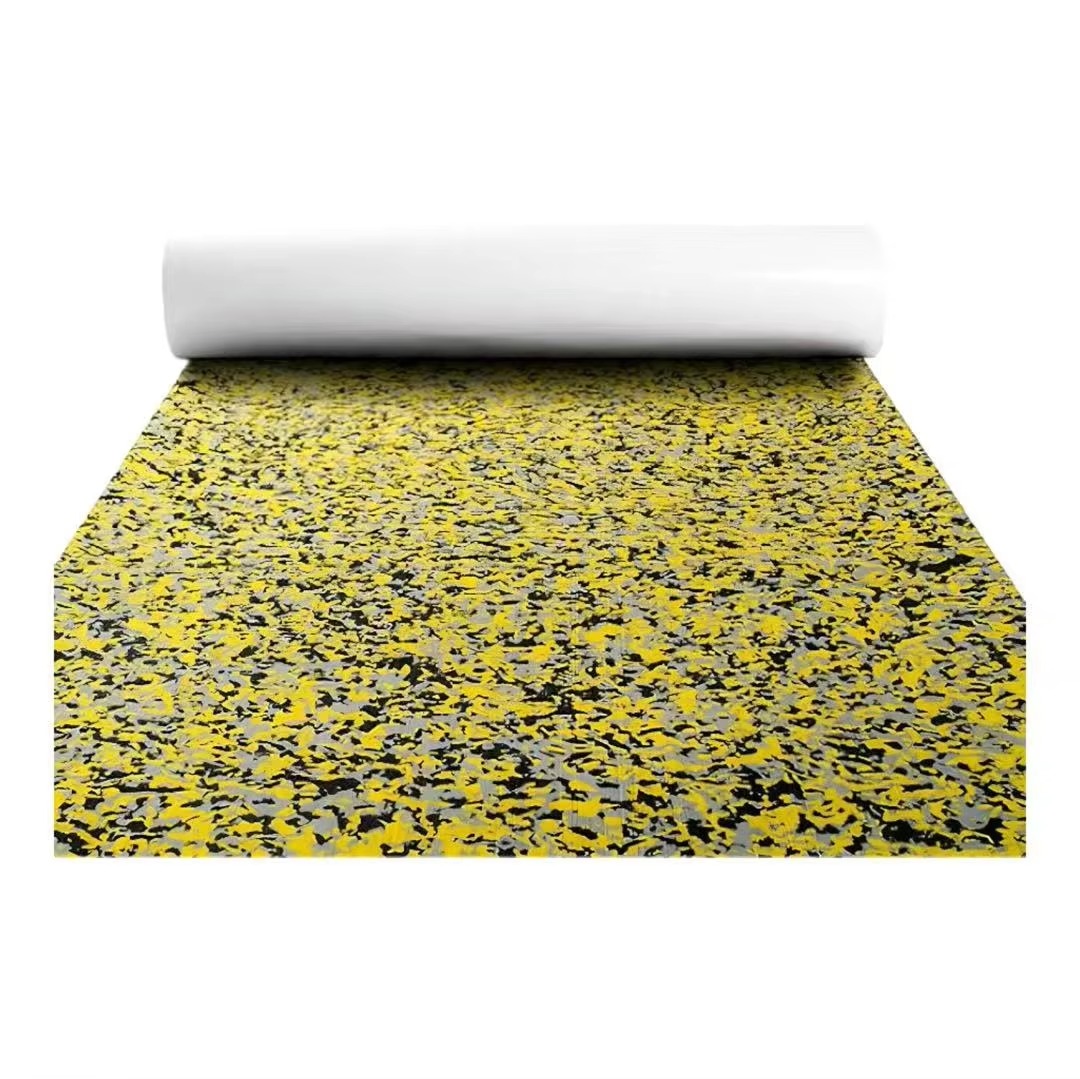
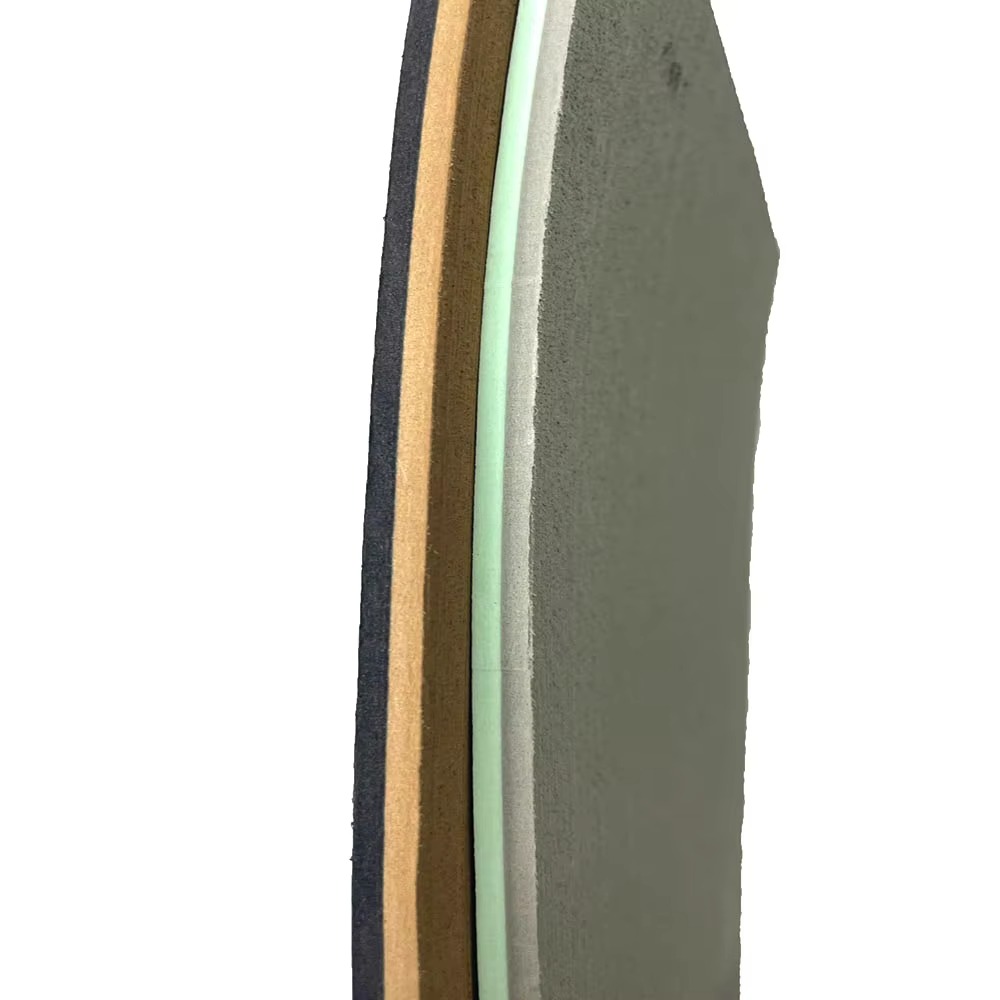
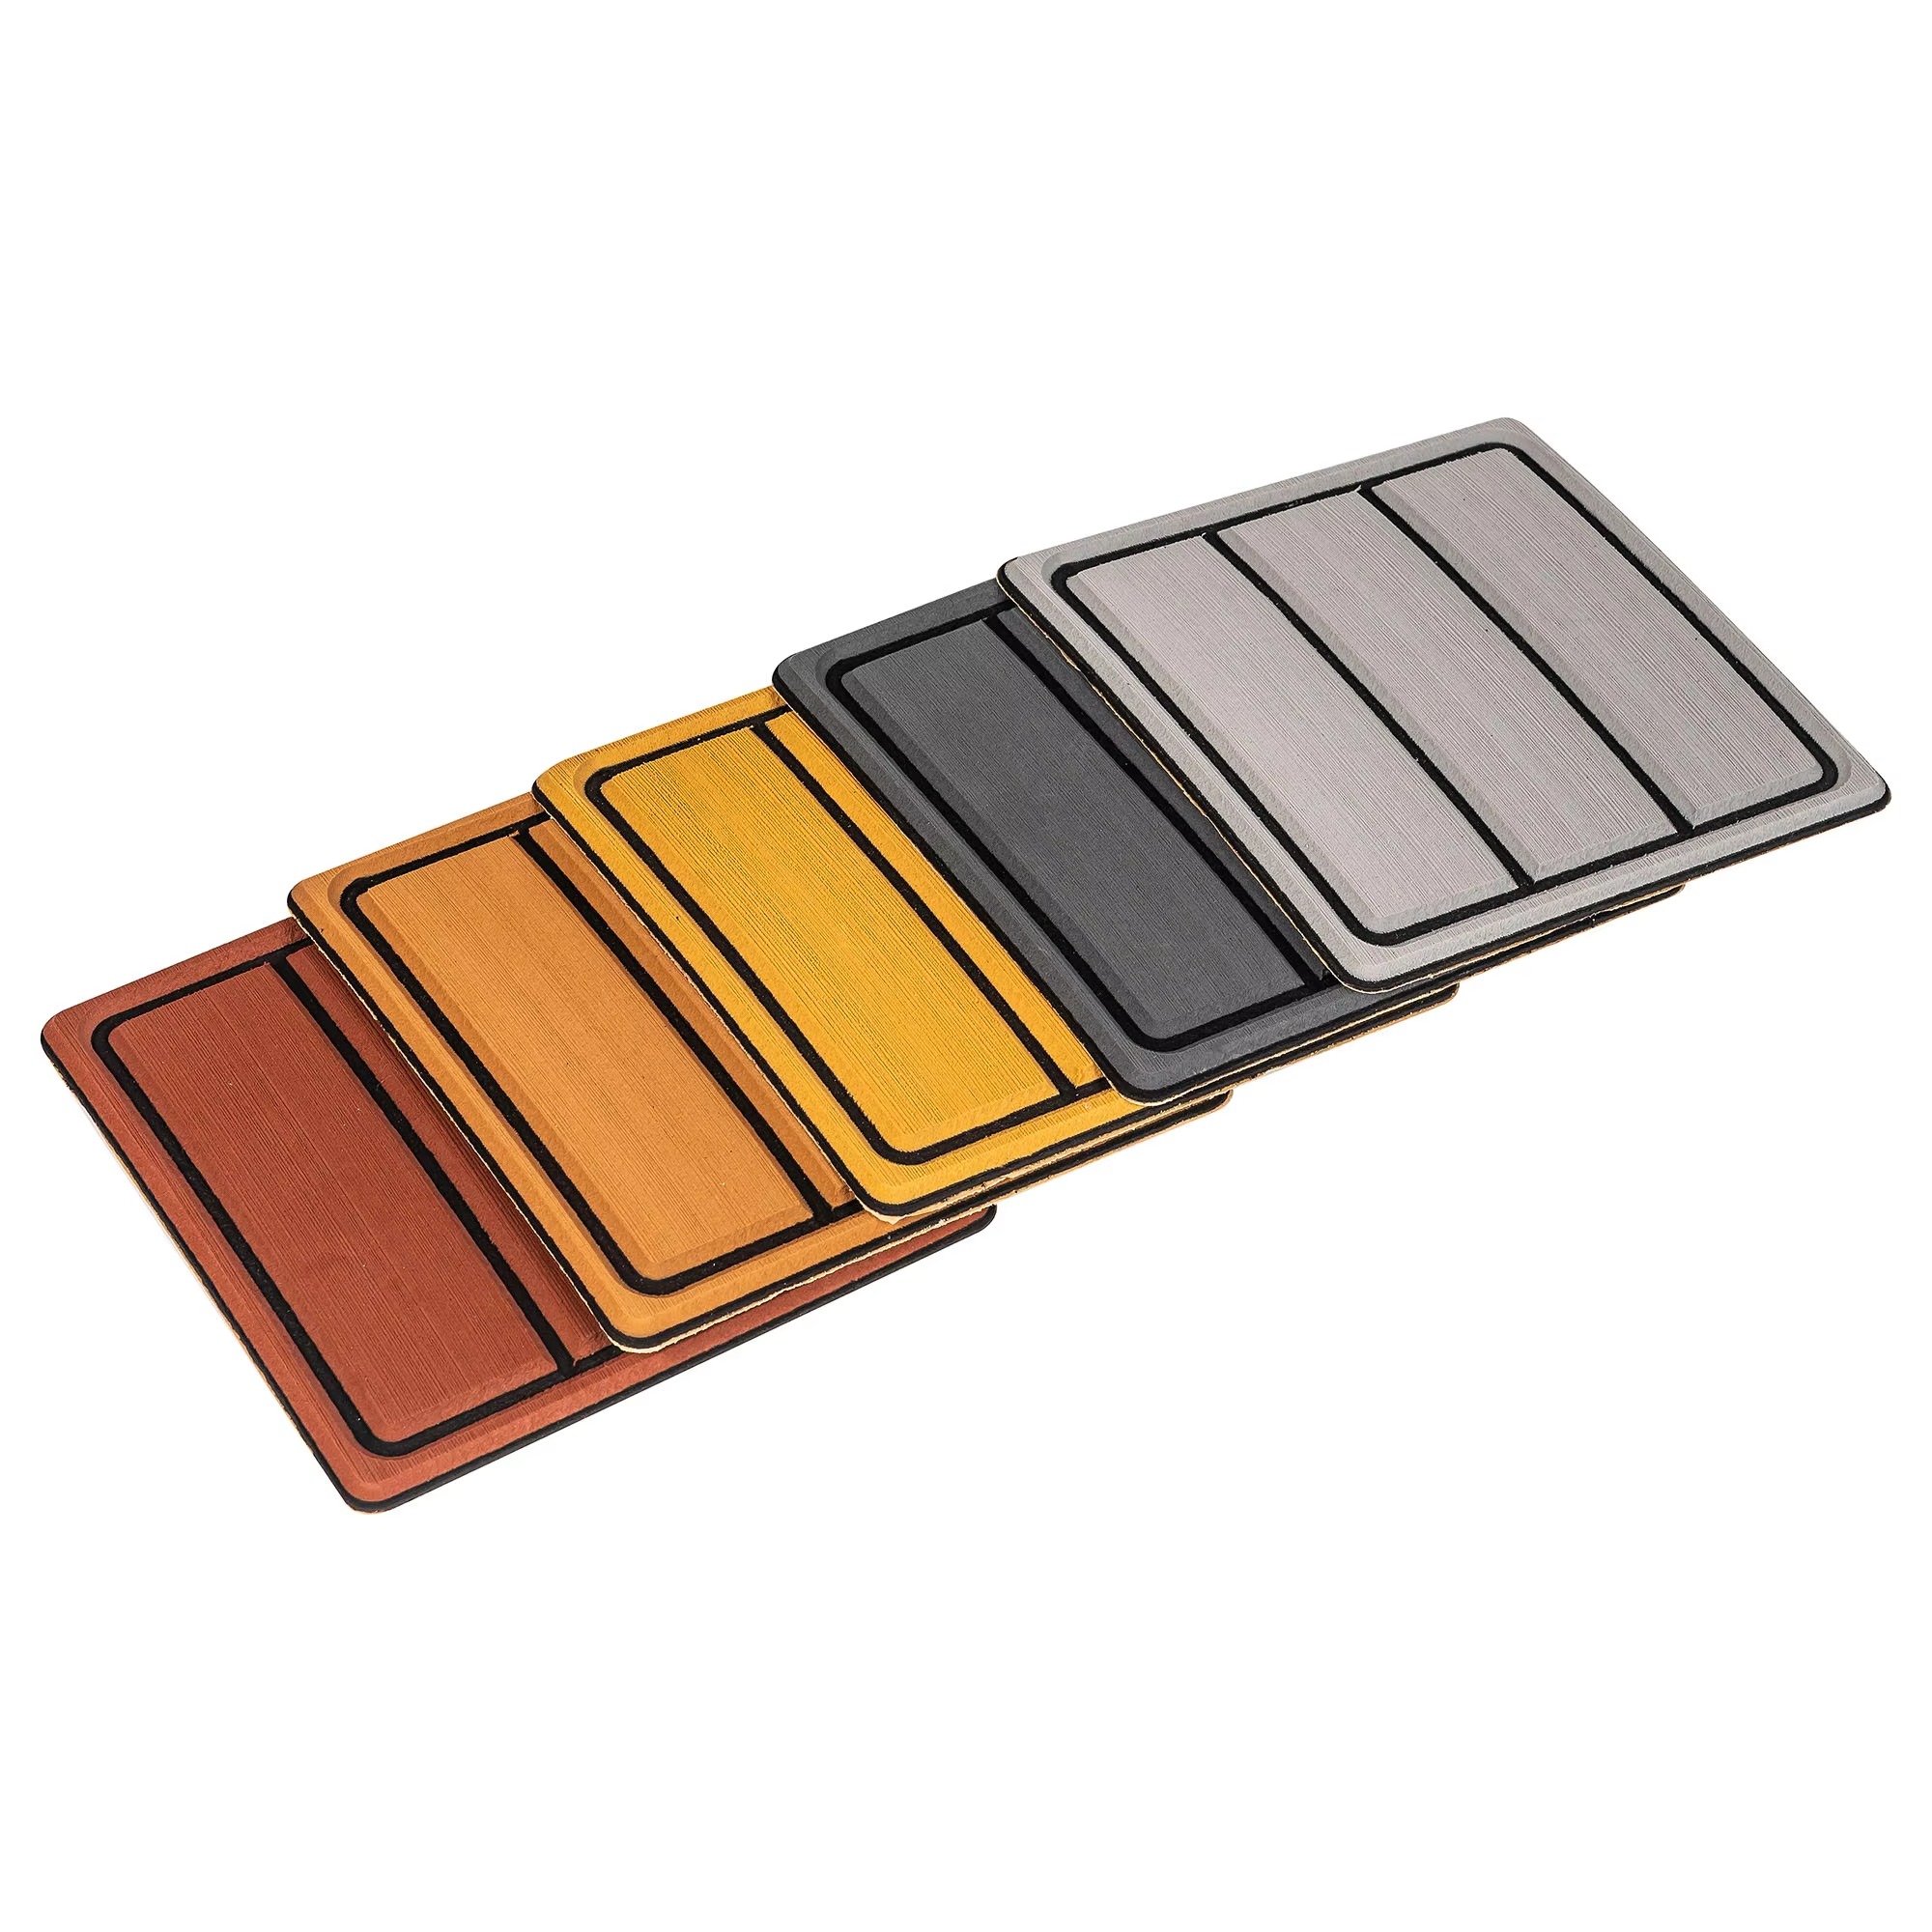
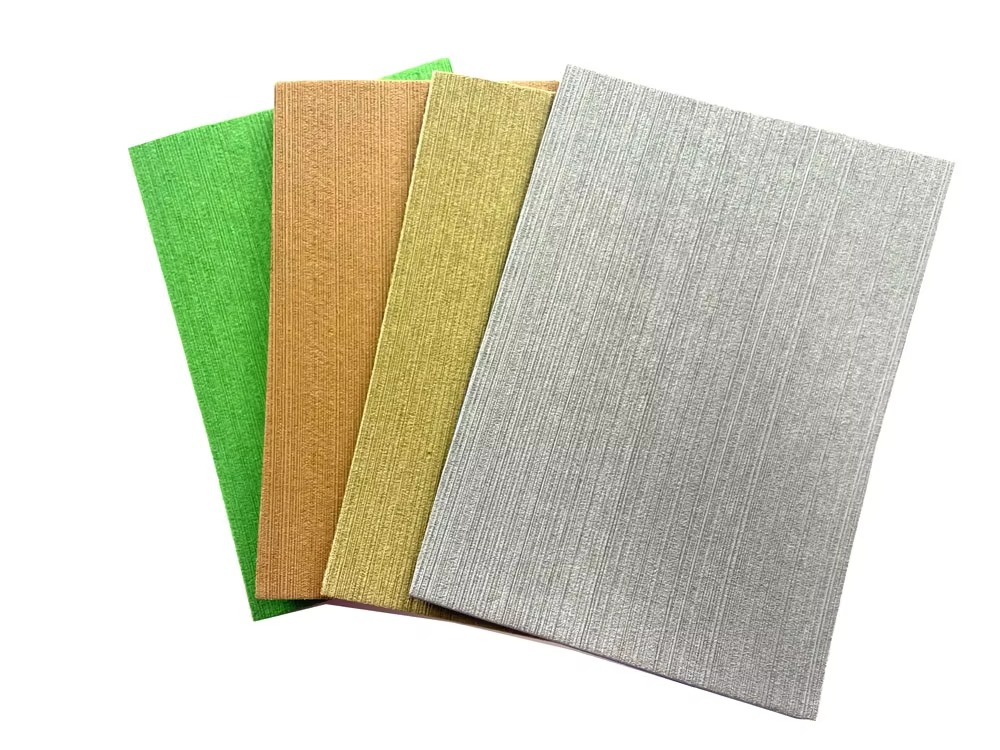
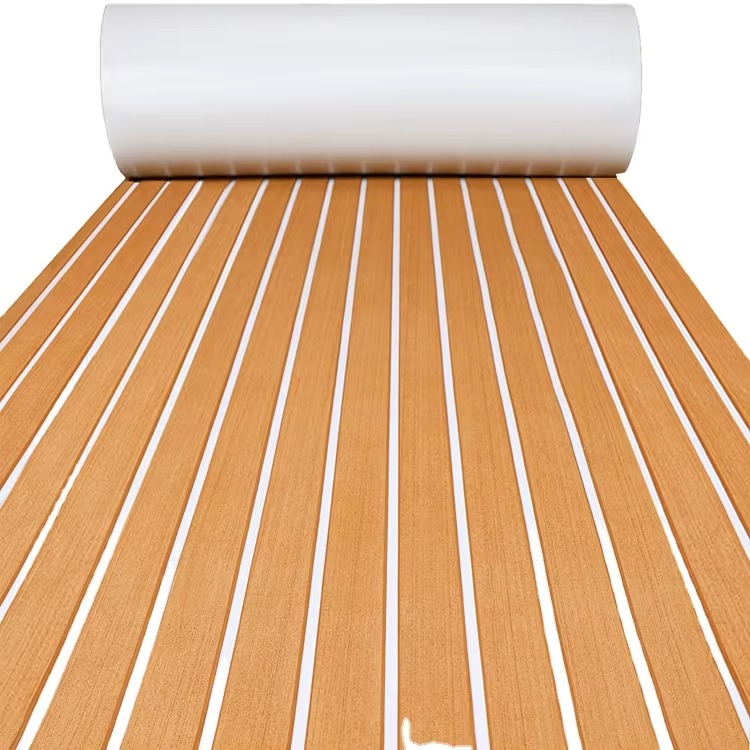
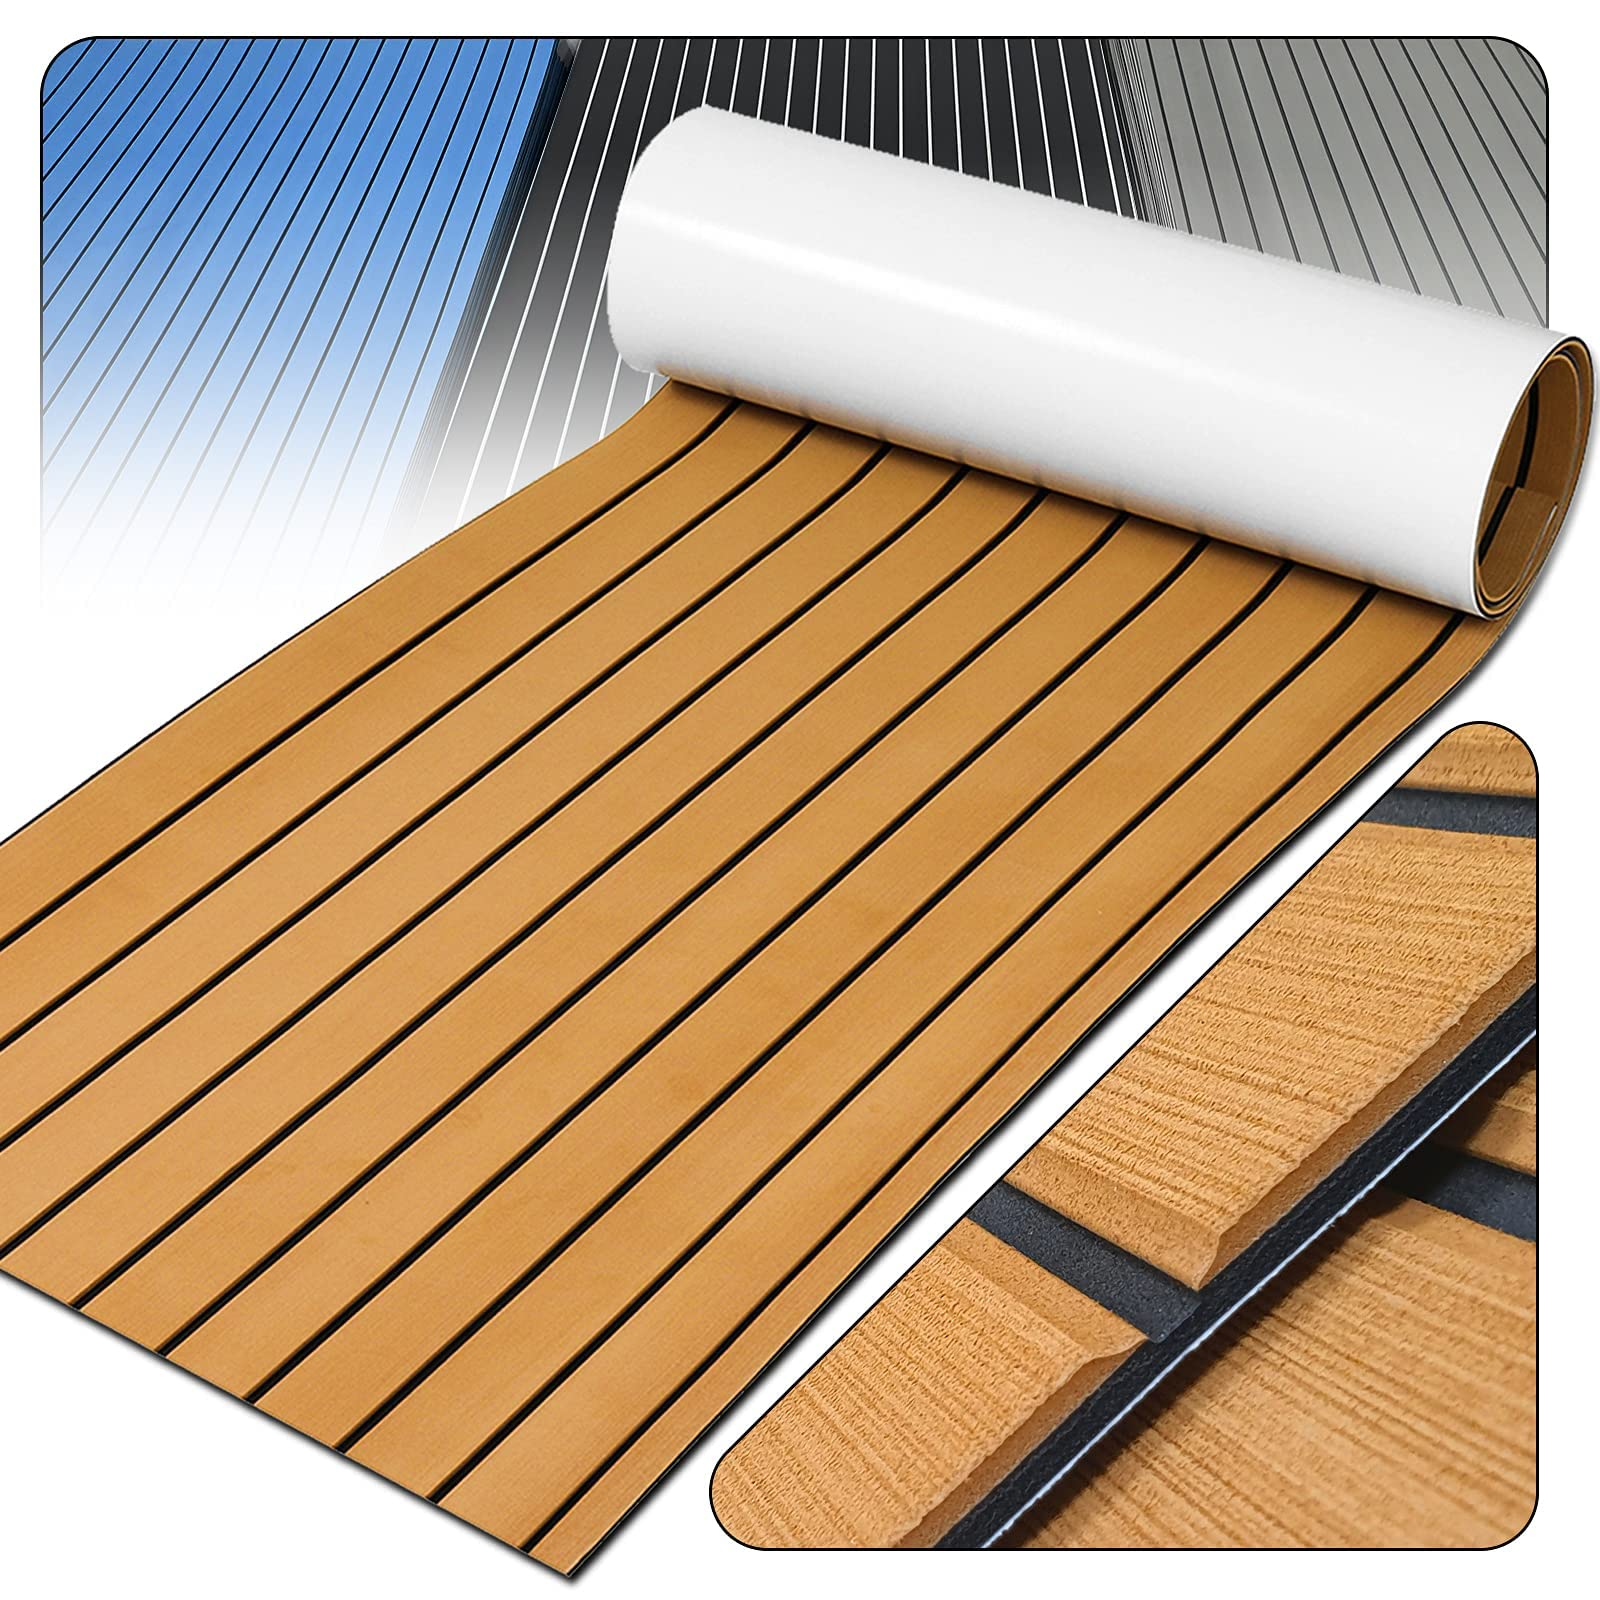
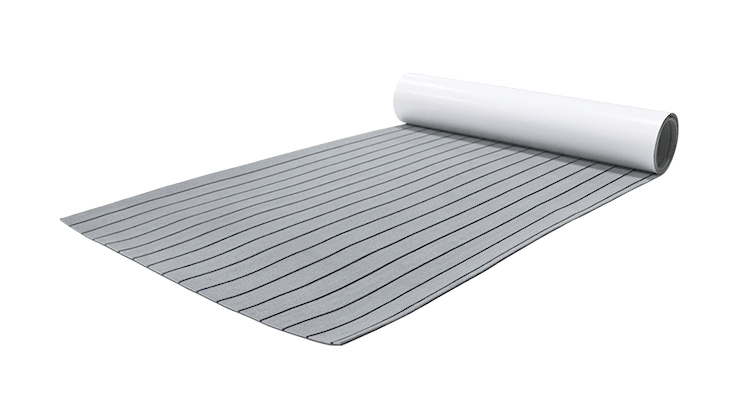
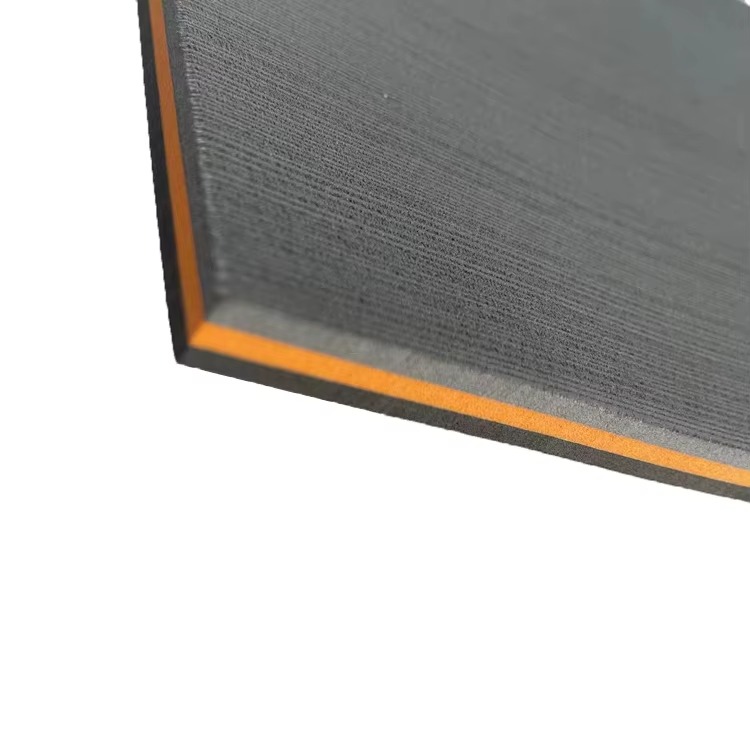
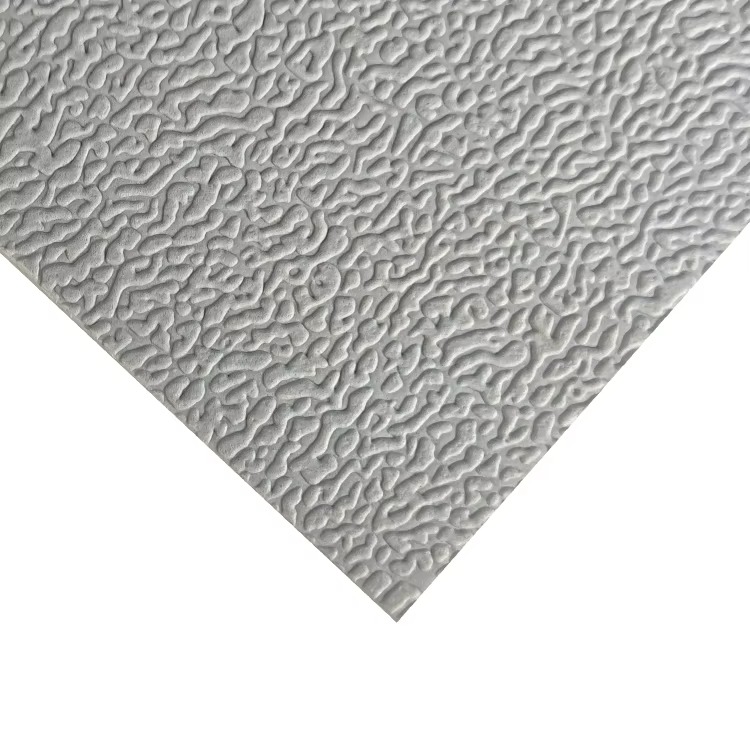
This article provides a comprehensive, step-by-step guide to installing EVA foam boat flooring. It's designed for wholesalers, importers, OEMs, and ODMs who want to understand the installation process, either for informing their customers or for handling installations themselves. We'll cover everything from essential tools and surface preparation to application techniques and troubleshooting, ensuring a professional, long-lasting result. This guide is worth reading because it demystifies the process, provides valuable insights from experienced installers, and can help you avoid costly mistakes, ultimately boosting customer satisfaction and your bottom line.
1. Why Choose EVA Foam for Boat Decking? (Attention)
EVA (ethylene-vinyl acetate) foam has revolutionized boat decking. Its closed-cell structure makes it inherently waterproof, preventing water absorption and the problems associated with traditional materials like carpet or wood (rot, mildew, warping). Beyond its water resistance, EVA foam offers superior comfort underfoot, excellent traction (even when wet), and impressive durability against UV exposure, chemicals, and abrasion. For wholesalers, importers, OEMs, and ODMs, offering EVA foam decking means providing a product that enhances the boating experience with safety, comfort, and style, all while being easy to maintain. This translates to happy customers and repeat business. The boat floor foam is more and more popular.
The other advantages of EVA foam are including,light weight,sound inslulation,anti-vibration.
Proper installation is key to the longevity and performance of EVA foam decking. Having the right tools on hand before you start is essential. Here's a comprehensive list:
Cleaning Supplies:
- Boat soap and water
- Acetone (for removing waxes, grease, and old adhesive residue)
- Isopropyl Alcohol (70% or higher – 99% is ideal)
- Clean, lint-free rags (white is best to avoid dye transfer)
- Scrub brush
Installation Tools:
- Sharp utility knife (with plenty of extra blades)
- Roller (a laminate roller works well to apply even pressure)
- Contractor's tape (or masking tape)
- Scissors
- Permanent marker (for marking the backing paper, not the foam itself)
- Measuring tape
- Optional: Heat gun (for complex curves or colder temperatures)
*Optional: Slice tool
3. How Do I Properly Prepare the Boat's Surface? (Interest)
Surface preparation is arguably the most critical step in the entire installation process. A poorly prepared surface will lead to adhesion problems, regardless of the quality of the EVA foam or the adhesive. Follow these steps meticulously:
- Initial Cleaning: Wash the entire area with boat soap and water to remove any loose dirt, grime, salt, and debris. Rinse thoroughly and allow it to dry completely.
- Acetone Cleaning: Using a clean, white, lint-free rag, apply acetone to the area where the EVA foam will be installed. This removes any remaining waxes, oils, grease, or old adhesive residue. Acetone is a strong solvent, so work in a well-ventilated area and avoid contact with the skin or eyes. Let the acetone evaporate completely. Never apply acetone directly to the EVA foam.
- Isopropyl Alcohol Cleaning: After the acetone has evaporated, use a new, clean, white, lint-free rag and apply isopropyl alcohol (70% or higher) to the same area. This removes any lingering residue from the acetone and ensures a perfectly clean surface. Allow the alcohol to evaporate completely.
Crucial Note: For large installations, it's best to clean the entire boat with soap and water first. Then, clean smaller sections with acetone and alcohol immediately before applying each piece of EVA foam. This prevents the cleaned area from becoming re-contaminated.
4. Step-by-Step: Applying EVA Foam Decking (Desire)
With the surface properly prepared, you're ready to apply the EVA foam. Most high-quality EVA foam decking comes with a pressure-sensitive adhesive (PSA) backing, making installation relatively straightforward.
- Dry Fit: Before removing the backing paper, dry-fit each piece of EVA foam in its intended location. This allows you to check the fit, make any necessary adjustments, and ensure proper alignment. Use contractor's tape to hold pieces in place during the dry fit if needed.
- Partial Peel: Do not remove the entire backing paper at once. Start by peeling back a small portion (2-4 inches) of the backing paper at one end of the piece.
- Alignment: Carefully align the exposed adhesive with the desired location on the boat deck.
- Initial Adhesion: Press down firmly on the exposed adhesive portion to secure it to the deck.
- Gradual Application: Slowly and steadily peel back the remaining backing paper while simultaneously pressing the foam down onto the deck. Work from one end to the other, applying even pressure with your hand or a roller. This prevents air bubbles from getting trapped under the foam.
- Rolling: Once the entire piece is in place, use a roller to apply firm, even pressure across the entire surface. This ensures maximum contact between the adhesive and the boat deck. Pay particular attention to the edges.
Tip: For complex curves or contours, a heat gun can be used to gently warm the EVA foam, making it more pliable and easier to conform to the shape. Use caution, as excessive heat can damage the foam.
5. Can I Install EVA Foam Decking Over Existing Non-Skid? (Desire)
This is a common question. The answer is: it depends. If the existing non-skid is in good condition (not peeling, flaking, or crumbling), and is relatively low-profile, you can often install EVA foam directly over it. However, the surface preparation steps (soap and water, acetone, alcohol) are even more critical in this situation. The texture of the non-skid can make it harder to achieve a perfectly clean surface, so extra diligence is required.
If the existing non-skid is in poor condition, it's best to remove it completely before installing the EVA foam. This typically involves sanding or grinding.
For those instances you can not remove the existing. You need to ensure to do the cleaning, and you could apply some primer before you stick the foam decking for boats.
6. Troubleshooting Common Installation Issues (Desire)
Even with careful preparation and application, occasional issues can arise. Here are some common problems and solutions:
- Air Bubbles: If small air bubbles get trapped under the foam, you can often work them out towards the edges with your fingers or a roller. For larger bubbles, you may need to carefully lift a small section of the foam and re-apply it. In some cases, a tiny pinprick (made with a very fine needle) can release trapped air, but this should be a last resort.
- Edge Lifting: If edges are lifting, it usually indicates either inadequate surface preparation or insufficient pressure during application. You may be able to re-adhere the edge by cleaning the area again with alcohol and applying firm pressure with a roller. In some cases, a small amount of marine-grade adhesive sealant can be used to secure a lifting edge.
- Misalignment: If a piece is misaligned, you may be able to carefully lift it and reposition it immediately after application. However, the longer the adhesive has been in contact with the surface, the more difficult this becomes. Prevention (careful dry-fitting) is the best approach.
- The boat foam decking shrink:
The main reason is the UV,for marine use product, the UV feature is a must.
7. How Do I Maintain EVA Foam Decking? (Desire)
EVA foam decking is relatively low-maintenance, but regular cleaning will keep it looking its best and prolong its lifespan.
- Regular Cleaning: Rinse the decking with fresh water after each use to remove salt, dirt, and debris.
- Periodic Washing: Wash the decking with mild boat soap and water as needed. Avoid harsh chemicals, bleach, or abrasive cleaners, as these can damage the foam.
- Stain Removal: For stubborn stains, you can try a specialized marine cleaner designed for EVA foam. Always test any cleaner in an inconspicuous area first.
- UV Protection: While high-quality EVA foam is UV-resistant, applying a UV protectant spray periodically can further extend its life and prevent fading.
8. What are the benefits of offering DIY installation kits to my customers? (Action)
Offering DIY installation kits to your customers (whether they are boat owners, boat builders, or retailers) can be a significant value-add:
- Cost Savings: DIY installation eliminates the cost of professional installation, making the product more accessible.
- Convenience: Customers can install the decking on their own schedule, without having to wait for a professional installer.
- Sense of Accomplishment: Many boat owners enjoy working on their own boats and take pride in completing DIY projects.
- Increased Sales: Offering a complete kit (foam, adhesive, tools, instructions) can make the purchase decision easier for customers.
- Upselling Opportunities: You can offer different levels of kits (basic, premium) with varying tools and accessories.
9. Is Professional Installation Always Necessary? (Action)
While DIY installation is feasible for many projects, professional installation may be recommended in certain situations:
- Large or Complex Installations: For very large boats or boats with complex deck layouts, professional installation can ensure a perfect fit and finish.
- Lack of Experience: If the customer is uncomfortable with DIY projects or lacks the necessary tools and skills, professional installation is the safer option.
- Warranty Considerations: Some manufacturers may require professional installation to maintain the product warranty.
It's important to offer your customers both DIY and professional installation options, allowing them to choose the best approach for their needs and budget.
10. Where can I find a whole sale supplier for DIY project
We are the factory who produce the EVA boat foam flooring. You can find us as your supplier.We provide OEM,ODM service. Contact us to get the free sample and check the quality.

11. Frequently Asked Questions
Can I install EVA foam decking in cold weather?
It's generally recommended to install EVA foam decking in temperatures above 60°F (15°C). Colder temperatures can affect the adhesive's ability to bond properly. If you must install in colder weather, use a heat gun to gently warm the foam and the boat deck.
Can I use EVA foam decking on other surfaces besides boats?
Yes, like boat foam deck, kayak,RV,etc.
How thick should EVA foam decking be?
Common thicknesses range from 5mm to 20mm or even thicker. The best thickness depends on the intended use and the desired level of cushioning.
What is the warranty on your EVA foam decking?
We offer a [specific warranty period] on our EVA foam decking, covering defects in materials and workmanship. Please refer to our warranty documentation for complete details.
Can I get a custom-cut EVA foam decking kit for my boat?
Yes, we offer custom cutting services to ensure a perfect fit for your boat's specific dimensions and contours.
Can I put EVA foam decking on a painted surface?
In many case, you can't.It's not a good surface to stick the EVA foam decking.
Key Takeaways
- Thorough surface preparation (soap and water, acetone, alcohol) is the most critical step for successful EVA foam decking installation.
- Use the right tools, including a sharp utility knife, roller, and appropriate cleaning supplies.
- Apply the foam gradually, working from one end to the other, to prevent air bubbles.
- Use a roller to apply firm, even pressure across the entire surface.
- DIY installation is feasible for many projects, but professional installation may be preferred for large or complex installations.
- Regular cleaning with mild soap and water will keep EVA foam decking looking its best.
- Offering DIY kits can be a significant value-add for your customers.
- We offer the OEM service for you.
This comprehensive guide, aimed at wholesalers, importers, OEMs, and ODMs, should provide a strong foundation for understanding and implementing EVA foam boat decking installation, either for internal use or for educating customers. The use of simple language, clear steps, and frequent questions makes it accessible to a wide audience, while the focus on professional applications and business benefits makes it relevant to the target market. The internal links and image further enhance the article's value and SEO.
